Few places match the beauty of an oak savanna or pine forest. It’s all about the trees. They can transform a landscape, whether it’s the local park, the city streets, or even your home. They bring a host of benefits that make learning how to plant a tree in your backyard a worthwhile investment.
Aesthetics aside, trees offer value to the homeowner. They can increase your property value. You may be surprised to learn that a single mature tree can be worth thousands of dollars. You can also save money on heating costs with a well-placed plant. It will provide food and shelter for birds and wildlife and have a positive impact on the environment, too.
Before you pick up your shovel, there are several preliminary steps you must take to get the most out of your efforts and ensure that the tree—or trees—will survive and thrive. Our guide will discuss everything you need to know to select the right one, how to get it into the ground, and what maintenance you must do those first critical years.
Table of Contents
Step 1: Pick a Place to Plant the Tree
We suggest you give this step some thought. It may seem obvious where the best site is, but there are a few considerations to keep in mind.
You should plant a tree at least 10 feet from your house for a small one and up to 20 feet for a tall one. It’s going to send out a lot of roots that you don’t want interfering with your foundation or septic system. Don’t plant it near an existing utility meter either. The lines exit your house from that point. Better yet, call 811 to get all of the nearby ones identified.
It’s free.
Also, avoid putting your tree near any overhead utility lines. The chances are you’ve seen the pruning job that trees with an unfortunate placement receive. If in doubt, measure it or use a smartphone app to get a ballpark figure. It’ll help you pick the right species.
Take note of the amount of direct sunshine the site gets too. Some trees prefer full sun whereas others thrive best in partial shade.
Step 2: Consider the Benefits You Want from the Tree
If you want a tree for its aesthetics, you can’t go wrong with a red dogwood or redbud. Both are gorgeous. The latter also provides welcomed shade. If privacy is your goal, then look no further than easy-to-grow evergreens like arborvitae or American holly.
While you’re researching species, pay attention to the maintenance involved with a particular one. Sugar maples are attractive trees, but the helicopters or samaras, not so much. The same thing applies to cottonwood and ash. Oaks and black walnut are excellent for wildlife but are messy in the fall. If you’re looking for something that is maintenance-free, pass on some trees.
We’d also recommend checking on any special requirements a species may have such as acidic soils. Find out if the tree is drought-tolerant or can handle poor drainage if it may pose an issue with these environmental conditions. And of course, it’s best to stick with native species that are adapted to your climate. They’re also less work to maintain.
Step 3: Give the Tree a Fighting Chance
The wisest advice we can offer when learning how to plant a tree in your backyard is to start with a healthy specimen. Opt for the healthy one that looks like someone is watering it regularly. If it’s in a container, pass on plants that look root-bound. Balled trees should feel solid. Avoid ones that have evident signs of disease like dead branches, dark leaf spots, yellowing foliage, or cankers.
Step 4: Prepare the Ground
After you’ve planted the tree, you must mulch around it to protect it and retain moisture. Scattering it on bare ground is better than putting it on top of the grass. It can create the perfect storm for fungus and bacteria to develop. Plan on an area of at least 3 feet or larger if you’re planting a taller tree.
Step 5: Dig the Hole
The size of the root mass or the container is your guide to how deep and wide to dig the hole. The goal is for the roots to set on the bottom of it instead of on top of freshly dug soil. That will encourage them to branch out and work through the earth to create a network. The depth is from the bottom of the mass to the point where the trunk meets it.
You can measure it or use a stick to get a ballpark estimate.
The diameter must be two or even three times larger. That will give the roots adequate space to branch out and get established. Moisten the soil with a garden hose.
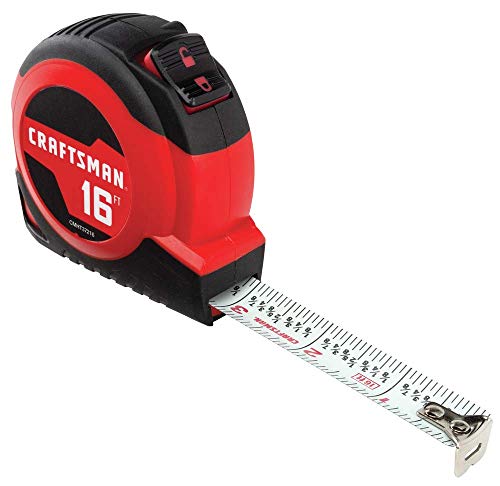
- EASE OF USE: Self-locking blade of the retractable tape measure stays extended
- QUICK & EASY MEASUREMENTS: Fractions printed on the blade
- ADDED GRIP: Rubber overmold for added grip
Last update on 2025-03-28 / Affiliate links / Images from Amazon Product Advertising API
Step 6: Loosen the Roots
You may have to cut the container away from the tree if it’s a large plant or if it’s root-bound. The same applies to ones wrapped in burlap. Don’t worry if you can’t remove it completely. Then, gently, loosen the roots, taking care to minimize any damage.
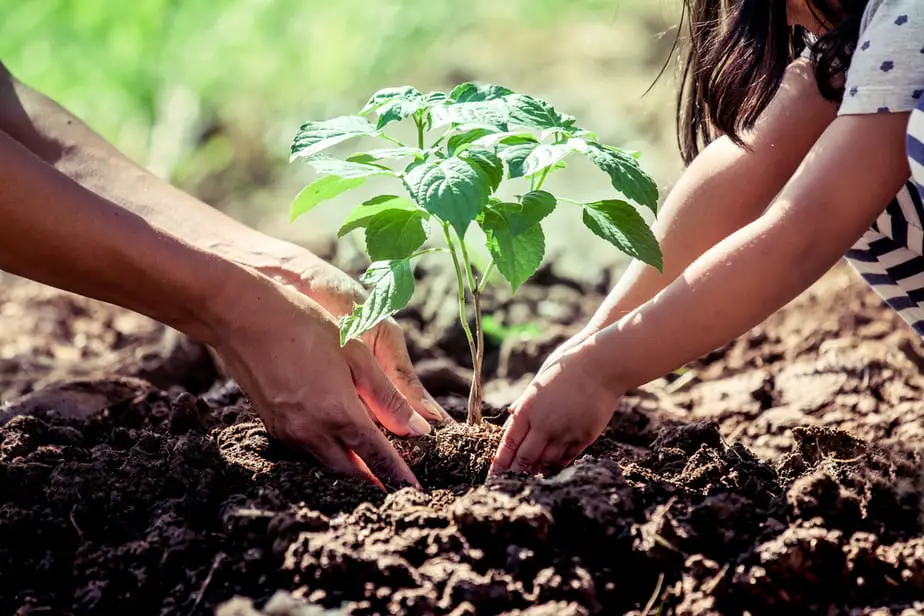
Step 7: Put the Tree Into the Hole
The next step is to introduce the plant to its new home. Place it in the center and straighten the trunk. You may find it helpful to have someone assist you. Once it’s set, it’s time to fill in the hole.
Step 8: Put the Soil Back Into the Hole
Keep the tree upright as you begin to fill the hole. Go halfway and adjust the plant as necessary. Fertilizer or other additives are not necessary at this time. The reason is that you want to encourage root growth first to help it get established. Otherwise, the tree would use its resources toward leaf growth and flowering.
It’s imperative that it builds a strong root network before it continues with its annual cycle.
Pack the earth with your hands as you continue to fill it to remove air pockets that could lead to bacteria development.
Step 9: Form a Ridge Around the Site and Water the Tree
The tree is unduly stressed from transplanting. An effective way to help ease the transition is to ensure adequate water availability. After you’ve planted it, make a ridge around the hole with the soil. That will contain the water you’ll give it next to stay there and not spread into the surrounding area. It will also help prevent the roots from drying out and dying.
Next, water the tree thoroughly with a gentle stream of water. You may find it helpful to run the hose for several minutes and then stopping to allow it to soak into the ground. That’s especially important if you have denser soils like clay. The object is to get moisture to the entire root ball without flooding the hole so that there is standing water.
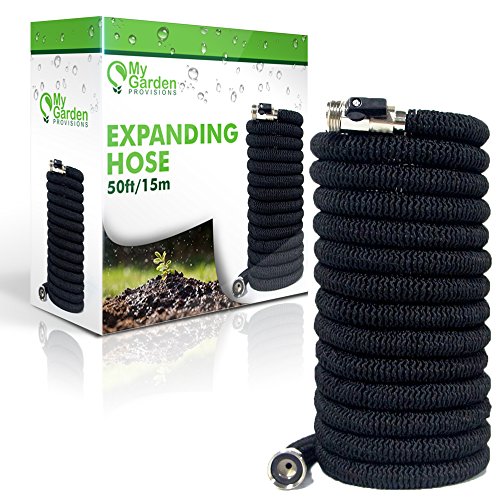
- SIMPLE, FLEXIBLE, EASY TO USE: Never Kinks, Twists or Tangles, lightweight, portable, easy to move around, expands up to three times its length
- DOUBLE THE PROTECTION: Nickel Plated ¾” solid brass connector provides additional layer of protection against rust and corrosion, this new technology helps safeguard your brass connector and prevents leaks
- AMAZING DURABILITY AND STRENGTH: Premium double latex core inner tube protected by a sturdy 3750D polyester outer covering
- BONUS 8 FUNCTION WATER NOZZLE INCLUDED: Adjustable sprayer gives you the flexibility to perform multiple tasks
- Our hose is backed by our manufacturer warranty; 30 day money back guarantee with 1 year free replacement warranty
Last update on 2025-03-28 / Affiliate links / Images from Amazon Product Advertising API
Step 10: Stake or Protect the Tree as Necessary
We’d suggest staking the newly planted tree only if there is a risk of strong winds or inclement weather pending that may threaten its stability. However, you may find it useful to put a tree guard around the plant. That will protect it from damage from rabbits and rodents. Species such as fruit trees are especially vulnerable.
No products found.
Step 11: Mulch Around the Tree
Now that you’ve planted the tree, it’s time to mulch. As we’ve discussed earlier, this step is necessary to help the plant retain water. It will also reduce competition from weeds that could rob it of precious nutrients that it needs while getting established. As the mulch decomposes, it will provide additional nutritional value to the soil and thus, the tree. We think it looks attractive too.
Plan on putting down at least a 3-inch layer of mulch. If you have dogs or outdoor cats, avoid getting cocoa products. These products are toxic to pets because they contain the same poisonous ingredient, theobromine, like chocolate.
Also, do not put the mulch up against the trunk of the tree. That can create a moist environment ripe for bacteria or fungus. Instead, leave a gap around the base so that air can circulate.
Step 12: Set Up Your Maintenance Plan
The first two years are critical for your tree. That means watering it regularly to ensure that it gets enough moisture until it has a fully developed root network to take over the task. Keep an eye on it for signs of stress or overwatering.
Since the primary consideration is root development, avoid fertilizing the tree for that first year. It’s essential that it finds its own nutrients before transferring its energy to the foliage and flowers. We’d also suggest removing dead or dying branches as necessary. Regular pruning begins next year. Doing this simple maintenance now will help prevent disease.
Final Thoughts
Trees are attractive additions to any landscaping that brings many benefits to homeowners and wildlife, alike. Luckily, it’s a simple gardening task that you can complete in just a few hours. The rewards of learning how to plant a tree in your backyard are yours to enjoy for years to come.