Hanging string lights are a simple way to add a little magic to your backyard. What’s great about string lights is that they’re easy to hang up, but can make a big difference for the ambiance in your backyard. Although hanging string lights using trees is a popular method, there are still many ways to get the job done even without trees. We’ll cover how to hang string lights in your backyard without trees along with some other tips and tricks along the way.
Table of Contents
Option One: Hanging Lights on DIY Post
If you are unable to hang string lights in your backyard without trees, you can easily create your own DIY post. What’s great about this option is that you can really liven up your yard with both lights and plants.
This process seems like a lot of work, but it’ll go by faster than you’d think. Plus, once you’re finished, you can kick back, relax, and enjoy your new backyard.
What You’ll Need:
- 6 Large Planters
- Spray paint in your desired color
- Drop cloth
- Six 2” x 2” x 8’ posts
- Coordinating paint color (optional)
- Painter’s tape
- 6 cup hooks
- Four 50 lb bags of concrete mix
- Water
- Stir stick
- Level
- Drainage material, such as gravel
- Potting soil
- Plants
- 100 feet of outdoor string lights
Step One: Paint the Posts and Planters
Clean the planters with a damp cloth and dry completely. Set them upside down on a drop cloth and completely cover with spray paint. Keep applying additional layers of paint as necessary for full coverage. Once the outside layer dries, turn planters over and paint the inside of the rim.
If you like, mask off the last 5″ of the post using painters tape and paint one end. Let the paint dry completely and then mask again and the end of the painted portion, leaving about 1″ of the band.
Paint the remaining band with its coordinating color, allow it to dry completely, and remove the painter’s tape. Add a cup hook in the center of each post where the two colors meet.
Step Two: Fill the Planter With Concrete
Place the unpainted end of a post inside each of your planters. Evenly divide the dry concrete mix over the planters. Follow the manufacturer’s instructions to determine the amount of water for each planter, and stir with a stick until it’s well combined.
Use a level on one side to make the post plumb. Use painter’s tape on each side of the post to hold it in place. Once the concrete is level and the post is in place, allow the concrete to harden according to the instructions.
Step Three: Add Plants
After the concrete is completely cured, add roughly 3″ a drainage material, such as gravel. Top the drainage material with potting soil and lightly pack it down.
Now you can add whichever plants you like! Keep in mind the location of the posts when choosing which plants you’ll use.
If you have a shady backyard, read this article to learn which plants are best for shade.
Step Four: String the Lights
Set up the planters in a rectangle formation, leaving no more than 10′ in between them each.
Add one end of the string lights to one of the cup hooks. You could also use cable ties or twist ties if there is no hook. String the lights, making an outline of your planters.
Once you have formed a rectangular outline of string lights, begin zigzagging the string lights from side to side, spacing them so that they are evenly distributed. To make this process easier, you could start by laying the lights on the ground underneath the rectangle to get an idea of where to place them.
Secure the other end of the cup hook as you did with the beginning of the light string. Lastly, plug an outdoor-safe extension cord into an outlet and enjoy it!
Option Two: Hanging Lights Along Fence
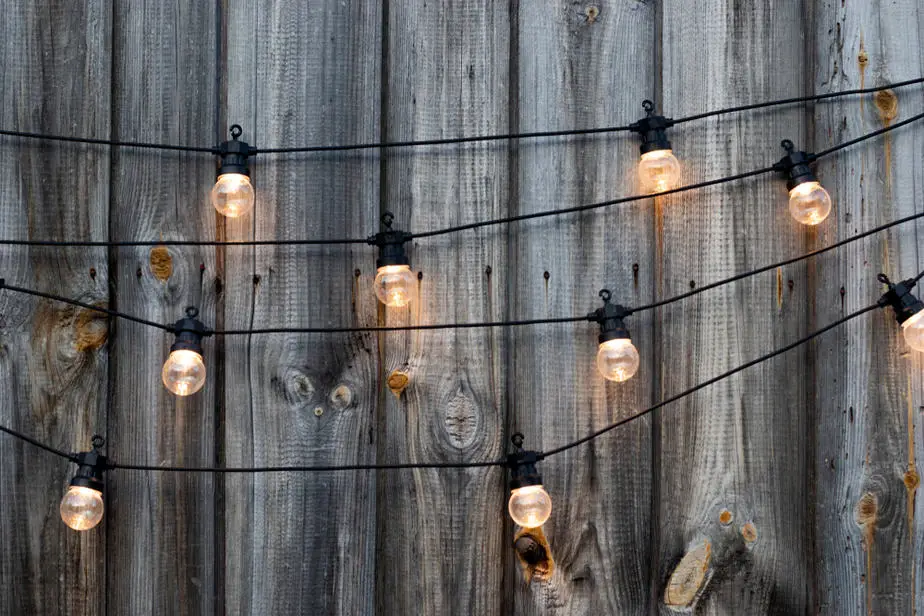
If you want to hang string lights in your backyard without trees, but you have a fence, then you’re in luck!
Using your fence to hang string lights is a quick and easy way to and some outdoor lighting to your backyard. This process requires minimal materials and is something anyone with a fence can do.
What You’ll Need
- A fence to hang string lights on
- String lights
- Support posts
- Paint (optional)
- Metal mounting hooks
- Hammer
- Nails
Step One: Lay Out String Lights
Start by determining where the power source is going to be for your lights and if you’ll need an outdoor extension cord. Keep the location of the power source in mind as you lay out your lights.
Lay your string lights along the outside of the fence to give you an idea of how much length you will need and to identify where you’ll need support posts. If you have a friend or family member to help out, you could have them hold one end while you hold the other. This way, you can see exactly what they’ll look like once hung up.
Step Two: Select Wooden Posts
Depending on the string lights you choose, you’ll need a wooden post that will be strong enough to hold the lights up and protect them from outside elements. When choosing the posts, be sure that you get posts that are all the same length, size, and shape.
For personalization, you can choose to paint the posts your desired color.
Step Three: Attach Mounting Hooks
Attaching mounting hooks properly is important in order to hold your string lights. Screw the mounting hooks into the wooden post and ensure that they are in firmly.
Step Four: Install the Posts
Use a hammer and nails to attach wooden posts securely to the fence. Use a tape measure to measure your posts so that they are mounted at even heights, ensuring that your lights hang evenly.
Space the posts out as you like so that they look good to you but are spaced enough to support the lights.
Step Five: Hang the String Lights
Once everything is installed, you can begin to hang your lights! Start by plugging the lights into the outlet or outdoor extension cord.
Attach the first bulb or light next to the mounting hardware to see the spacing. Unplug the lights and hang the rest of your string lights.
Work along the fence to hang the lights on each of the supports.
If you like, you can hang the lights directly to the fence using mounting hooks installed directly into your fence.
Option Three: Hang String Lights Using Metal Pole
Similar to option one, this is an option that will require a little work but is worth it if you want string lights in your backyard.
A plus to doing this option is how customizable it is. You can have a small area for your lights or a big one; it doesn’t matter. All you have to do is measure accordingly and place the poles where you like!
What You’ll Need:
- Hacksaw
- Drill
- Paintbrush
- Concrete forms
- Concrete
- 1″ diameter PVC pipe
- 3/4″ conduit
- 3/4″ end cap
- Screw eye
- Nut
- Primer
- Paint
- String lights
- Zip ties
Step One: Set Concrete
Sink concrete forms at the corners of the backyard area where you’ll want to install the light supports and hang your string lights. Be sure that the forms are set deep enough that they are below the frost line.
Center, a piece of 1″ PVC pipe inside and then, fill the concrete around the pipe.
Step Two: Cut Pipes
Use a hacksaw to cut 3/4″ of conduit to the height you’ll want your lights, plus the height of the PVC pipe that’s already in the ground.
Step Three: Drill Holes
Screw a 3/4″ cap onto the end with the conduit. Drill a 1″ hole below, and insert a screw eye through the hole. This will be where the string lights will be held.
Once finished, secure in place with a nut.
Step Four: Finish Poles
Begin by priming your pole, and then paint with the color of your choice.
Ensure that the concrete is fully cured, and feed the pole into the PVC pipe that is in the concrete.
Step Five: Attach Lights
Now that you’re finished with the above steps, it’s time to attach your string lights! Use a zip tie to attach your lights to the screw eye.
In order to make the zip tie less noticeable, spray paint it to match the color of the pole and hook.
Option Four: Hang String Lights on Patio Ceiling
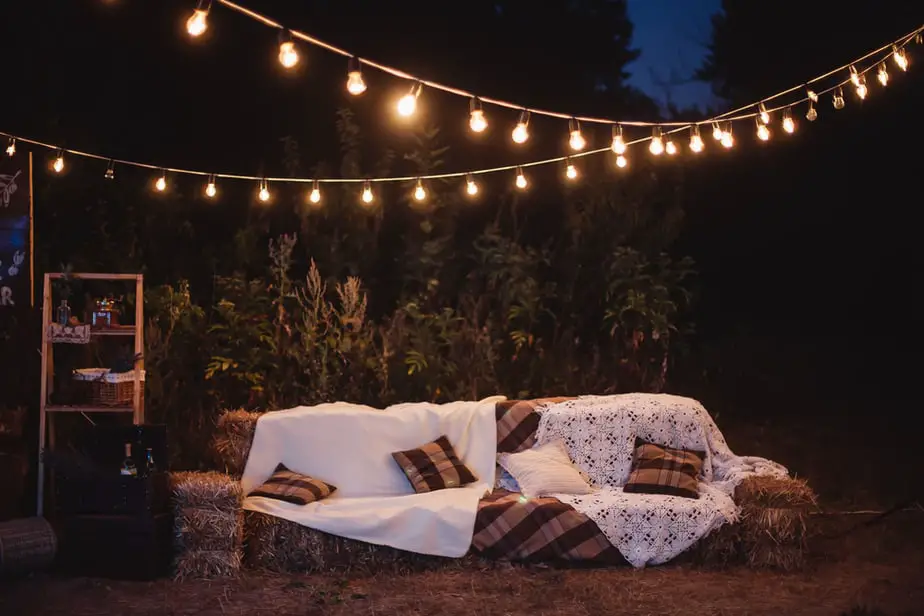
By now, you have a few options to hang string lights in your backyard without trees, but we have one more for you!
Draping lights across the ceiling isn’t just a backyard wedding decoration. Adding string lights to your patio ceiling is really simple and will look gorgeous when you’re finished.
What You’ll Need:
- String lights
- Hooks
- Pole or post (optional)
- Bucket or planter (optional)
- Heavy gravel (optional)
Step One: Look for Existing Supports
With this option, there are a lot of patterns you can go with. You could either choose one point where multiple light strands will reach out from your patio to other supports. If your backyard follows a natural pattern, take note of that as well.
There is no wrong way to go about it, so keep in mind what you want the final look to be like as you go through the process.
Check for existing areas on your patio ceiling that are sturdy enough to mount your lights and mark which spots you’ll hang your lights from with tape.
Next, look for other locations where you’ll connect the lights from your patio ceiling to. We’ll also go over another option for creating your own supports later, so don’t worry if there aren’t many options in your backyard.
Below are some examples that make good supports for lights:
- Roof
- Deck
- Railing
- Fence
- Eaves of your house
Once you’ve identified which places are sturdy enough to mount your lights, start paying attention to how you’d hang them. You want to be sure that the strands will easily be able to reach from point to point.
Step Two: Determine Where You’ll Create Your Own Supports
You may find that there are a few areas that work well for mounting your lights but have a few gaps that lack support. In this case, you can simply create your own supports to hanging lights.
Use tape to mark the areas in which you’ll be creating your own supports.
Step Three: Get Posts or Poles to Hang Your Lights From
With hanging lights, you’ll need to ensure that you find posts that are tall enough that it’s easy for everyone to walk underneath or sit beneath. Keep this in mind when choosing which poles or posts you’ll be using.
For a sturdier option, you can opt for a metal pole. If that doesn’t fit your backyard aesthetic, wooden posts make a great option.
In either case, you can use spray paint or other decorative items to make them look more visually appealing.
Step Four: Use Bucket and Heavy Gravel to Support Post
Similarly to option one and three above, you can use posts and buckets or planters to create your own supports. If you don’t want to mess with mixing concrete and adding in plants, you can use heavy gravel to hold them in place.
Arrange the buckets or planters around the perimeter of your chosen space where you will hang your lights over.
To avoid having to move around heavy planters of gravel, make sure you’re happy with the arrangement of your posts prior to adding the gravel.
Insert the post into the planter after you have chosen your arrangement. Once everything is in place, and the bucket or planter is filled with gravel, ensure that the post is sturdy before adding lights.
Step Five: Add Hooks
Once you have your general layout mapped out, you’re almost ready to hang the lights!
Add hooks to the existing supports that you located earlier as well as the poles or posts. If you’re unable to add hooks, you can use zip ties to attach the lights to the poles.
Step Six: Hang Lights
Map out where you’ll hang your lights prior to hanging them to make it easier. This will also ensure that you have enough length before you begin.
Weave your lights from one pole to another or to the supports located earlier. Make sure that you hang your lights loosely to allow some give.
Final Thoughts
Hanging string lights around your backyard is a simple way to add ambiance to your backyard. Although using trees is an option for some, you have plenty of options to hang string lights in your backyard without trees as well. Have fun, and enjoy the process of hanging your string lights! Whether you choose smaller light strands, such as fairy lights, or strands that have great big bulbs, it’s sure to add some flair to your backyard!