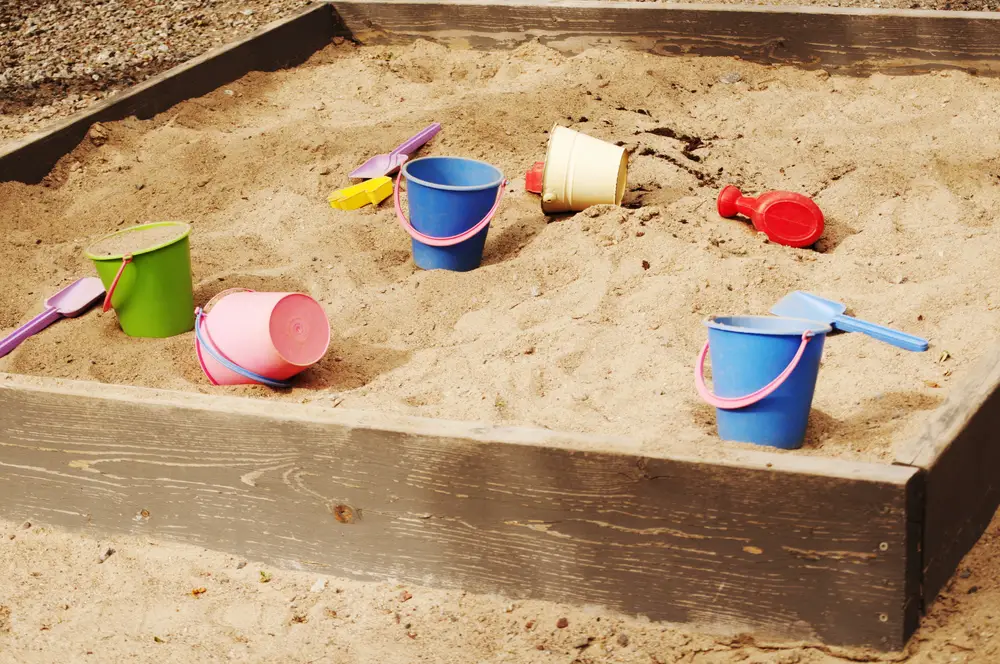
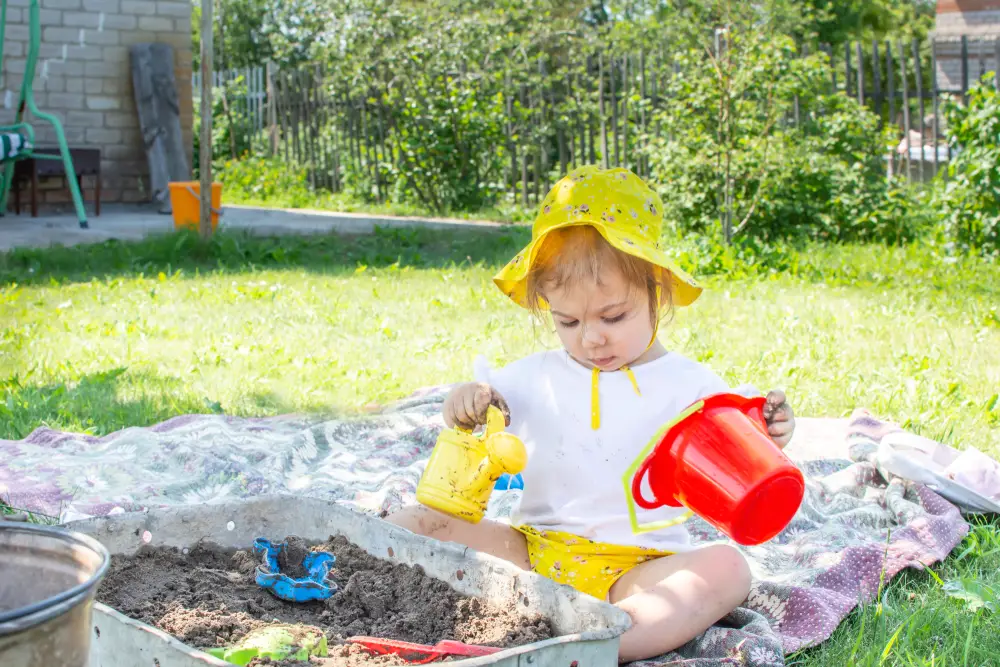
Have you ever wanted to make a sandbox in your backyard? Not only is playing with sand a great kinesthetic activity for children of any age, but kids absolutely love it! Sandboxes are timeless toys that will never go out of style in your dream backyard.
We have 3 simple ways to make your dreams a reality. These step-by-step instructions will teach you how to make a sandbox in your backyard.
3 Simple Sandbox Options:
-
- No tools needed, using a storage container
- Classic 4’ x 4’ sandbox
- The big one: using landscape timbers
Table of Contents
Option 1: Use A Storage Container
No nails, no lumber, no tools! If you have a small backyard, or you are not sure about making a permanent fixture in your backyard, then this is the sandbox for you! It is also the most time and budget-friendly.
Take a look around your house and chances are you already own something that can be used as a quick sandbox. Think about plastic storage container boxes or unused toy bins.
If you don’t have something you can re-purpose, then a quick trip to the store will get you everything you need!
Materials:
- Plastic Storage container, such as an under-the-bed storage container
- 1-2 50lb bags of play sand
Step 1: Choose and Buy Container
Determine the size of the plastic container that you want for the sandbox. We recommend a long under-the-bed plastic storage container. However, virtually any size container can work for a quick sandbox.
Step 2: Buy Play Sand
You will need about 1 bag of play sand, depending on the size of your bin choice. Take your container outside and pour the sand in. Add spoons, cups, and seashells. Sit back and watch as your toddler plays for hours!

- Dressed to Fill: Contain your chaos with this set of clear storage totes ideal for clothing, office supplies, personal items, and more
- Made to Order: These 15.5 x 34.38 x 6-inch storage bins with locking lids are great for organizing your home office, or garage. Great for books, sweaters, supplies, and seasonal decorations
- No Wasted Space: Our set of plastic totes fits perfectly into any room. Keep your treasures safe with our locking sides and locate your items in a snap with clear sides
- From Trash Bin to Storage Bin: Life in plastic is fantastic when it is made from 90-percent recycled materials. We know the earth is as important to you as your treasures. Let us store your goods while being good to Mother Earth.
- HOMZ For Your Home: From organization to storage, we have the container that you are looking for. Allow us to make your house a HOMZ.
Last update on 2025-03-28 / Affiliate links / Images from Amazon Product Advertising API
Option 2: Classic 4’x4’ Sandbox With Bench
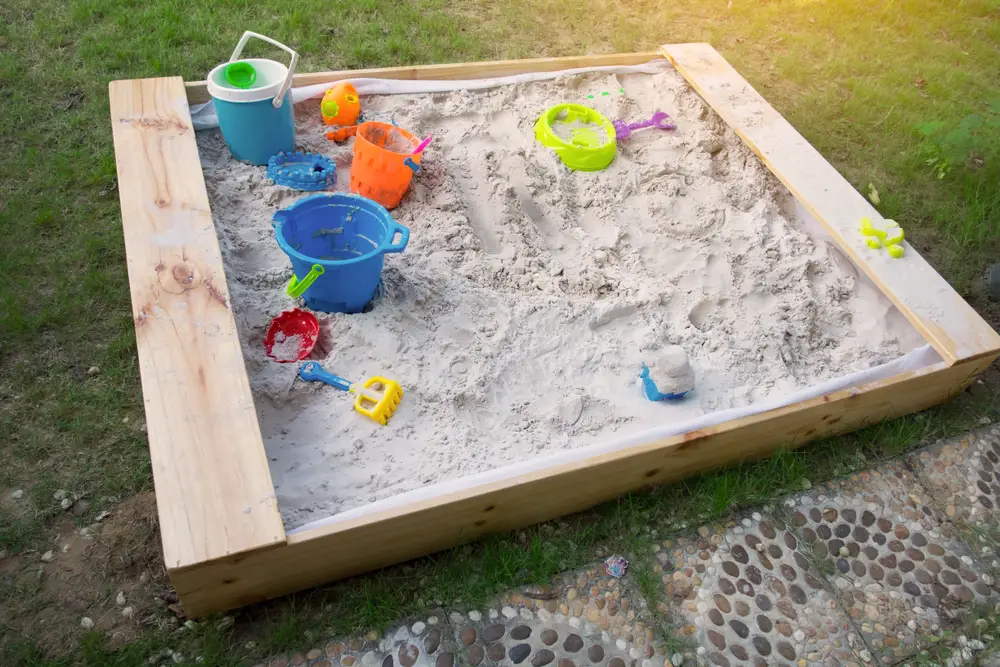
This no-frills classic sandbox design will take less time building, so your children have more time for playing! Two benches on the end give a comfortable place to sit or place sand toys. This will be a DIY project you can’t wait to show all your friends!
Materials:
- (Base) Two 1 x 8 boards cut to 47 ½”
- (Base) Two 1 x 8 boards cut to 46”
- (Supports) Four 2 x 2 boards at 7 ½”
- (Bench) Two 1 x 6 boards at 47 ½”
- 1 ¼” screws
- About 8 cu. Ft of play sand or calculate the amount needed
- Paint/Stain (optional)
- Measuring tape
- Drill
- Saw
- Sander
*An important note on material: Cedar is the recommended material for sandboxes and garden beds. It is naturally splinter, weather, and rot resistant. Use pressure-treated wood knowledgeably and at your own risk. Anything treated with CCA contains arsenic and can be harmful. Whatever material you choose, please research that it is safe to be in contact with children.
Step 1: Prep Site
First, pick a desirable location. Consider the amount of sun/shade exposure and the drainage of your yard. Ensure that your sandbox will not become a pond after a rainfall!
Second, clear the sandbox area of sod. This will help prevent your sandbox from becoming a weed or grass garden!
Third, we recommend digging down the area of your box about 4-6 inches. Digging down will help to support the walls of your box and prevent bowing. If you choose not to excavate a hole for the sandbox, you may need to support the sides with stakes.
Fourth, lay about one inch of sand or pea gravel in your prepared area. This will help you to level the frame when it is placed in position.
Step 2: Assemble Base
- Begin making the base frame of the box from the two 47 ½“ pieces and the two 46” pieces.
- Measure and draw a line about 2 inches inset from the ends of the 47 ½” pieces. This will mark where you will inset and screw the ends of the 46” pieces.
- Pre-drill holes and screw the 47 ½” boards to the 46” boards at right angles to create a box.
- Place the four 2×2 boards inside the corners to provide support to the box. Drill the screws from the outside in.
Watch this step in action below:
Step 3: Create Bench
- Simply use two 1×6 boards to create bench seats on the top of the sides with the 46” pieces.
- Lay each 1×6 board across the sandbox on opposite ends.
- Square the ends and corners of the bench to the end of the 47 1/2″ boards.
- Use two screws on the ends of each bench to secure in place.
Step 4: Sand And Paint
Now you can add your personality to it!
First, sand the box to remove any splinters. Then, gently wipe the box down with a damp cloth. Finally, paint or stain the box to your desired look and let dry.
Step 5: Move Sandbox
With the help of another adult, move your sandbox to the yard site.
Step 6: Attach Weed Barrier
Roll out the weed barrier inside the sandbox. Pull up the sides of the box about 4 inches. Make sure to push the fabric into all four corners. Tack the fabric down with staples or small nails.
Step 7: Fill With Sand
Pour in about 8 cu. feet of play sand and spread evenly.
How to Calculate the Amount of Sand Needed
You can always guess how much sand you need, but we recommend calculating the right amount. This formula will give you cubic feet: length x width x depth.
For example: 4 feet x 4 feet x 0.5 feet (6 inches) = 8 cubic feet
This will give you cubic feet required to fill your box. Most bags of play sand come in 0.5 cubic feet or 50 lb bags. To achieve 8 cu. feet of sand, you will need to purchase 16-50 lb bags of play sand.
Step 8: Add Toys And Enjoy
Add scoops, shovels, trucks, and sand toys to your box. Enjoy hours of simple play!
Option 3: Using Landscape Timber

Landscaping timber makes a sturdy option for a quick sandbox. To make this job simple, we will be using the full 8 feet so that no cuts need to be made. This sandbox will be about 8’ x 8’ and large enough for all your kids to play at once!
Materials:
- 16 Landscape Timbers, 8 feet long
- 8, 7″ Galvanized Pole Barn Nails
- 36, 5″ Exterior Wood Screws
- Cordless drill/driver
- 70 square feet of Weed Barrier
- Hammer
- Framing Square
- Utility Knife
- 2 cubic yards of Play Sand or calculate the amount
Step 1: Prep Site
You will prepare your site the same way we instructed for the classic 4’ x 4’ sandbox.
The main points to remember are:
- Choosing a good location in the yard
- Clearing sod and leveling the area
- Excavating 4-6 inches of dirt: This will give your structure support and add to its longevity
- Creating a layer of sand or pea gravel about 1 inch thick
Step 2: Assemble First Layer
First, start will two pieces of landscape timber and place them to form a corner of the sandbox. Next, use a level and framing square to ensure the pieces are as level and square as possible.
Finally, use two pole barn nails to hold it in place to the ground.
Repeat with the opposite corner. Make sure you are creating a square by alternating the corners as shown in Part 2 Step 2 of this illustration Remember to secure the corner to the ground with the pole barn nails.
Step 3: Lay Out Weed Barrier
Cover the first layer of timber and the bottom floor of the sandbox with landscape fabric. Roll out the fabric and drape it over the sides of the box. You will need to make a few passes to cover the entire floor. Overlap the fabric by 1-2 inches down the middle. Secure the fabric to the tops of the first layer of timbers using staples or nails. Excess fabric will be removed later.
Step 4: Assemble Remaining 3 Layers
Continue adding layers just as you did in step 2. Remember to alternate the overlapping boards so it is offset from the one underneath it. Use three screws, one on each end and one in the middle, to hold each piece in place.
Cut away any excess fabric that may be showing through the outside of the sandbox.
Step 5: Fill With Sand
Now is the fun part! Dump all the sand into your new box and watch it fill up! You may be surprised how much sand this sandbox can hold.
Step 6: Enjoy Your New And Large Sandbox
Have your child invite their friends over and enjoy the kids playing in the sandbox for hours!
Covering Your Sandbox
Image your little one running outside to enjoy their sandbox. Just as you are reveling in the peace and quiet, they bring you a “prize” that an animal left behind in their box! Yuck!
This is one reason we do recommend that you cover your sandbox when it is not in use. Covering your sandbox will reduce the amount of debris that falls or is blown into the box. It will also keep unwanted animals (and their feces) out!
A sandbox cover may be as simple as a tarp draped over the top. Another way to cover is to add folding seats that double as a cover as seen here.
No products found.
Conclusion
Whether large or small, making a sandbox in your backyard is sure to create timeless memories!
We showed you several design options. A no-tools option will have your toddler playing in the time it takes you to go to the store! The classic 4’ x 4’ box is a simple design and will look perfect in any backyard. Finally, the landscape timber sandbox will give you a box large enough for everyone to play at the same time.
Which sandbox did you make in your backyard?
Now pull up a lounge chair and soak in the sun while your kids are happily playing!