Summer brings pleasant temperatures and sunny days that beg you to get outside and enjoy them. Grilling out and dining alfresco is the epitome of making the most of the season. It certainly is enough to encourage you to learn how to build a backyard deck.
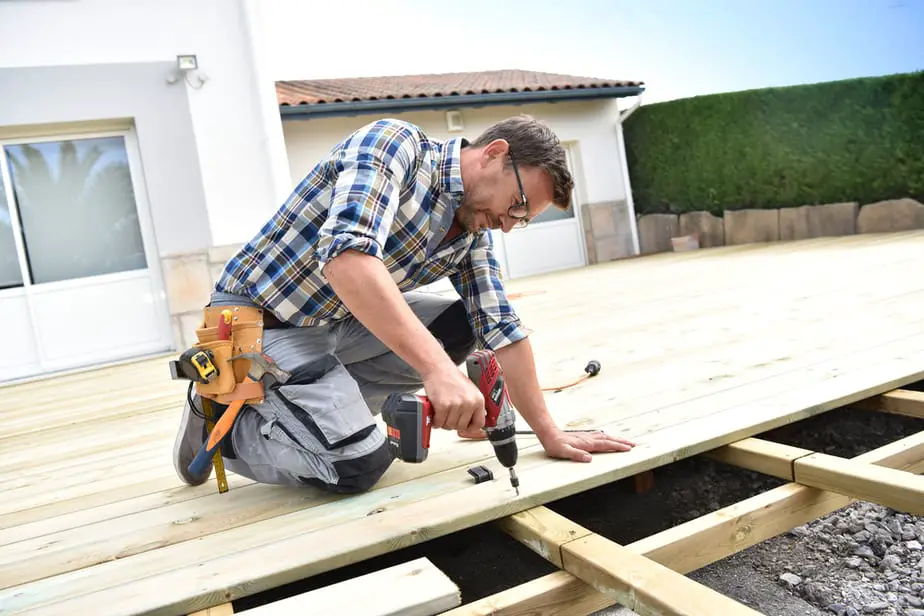
Table of Contents
Before You Start Delving into How to Build a Deck
There are several vital decisions you need to make before you begin. First, think about what you want in a deck and how will you use it. Do you want to entertain friends? Do you see it more for family use, sunbathing, and spending time outdoors? How big is it?
Next, look for an image of your final product. You can also browse free deck plans online for inspiration. Then, there are two critical questions: is it a DIY project, and how much can you afford? Let’s consider each one in detail.
DIY or Contracted Job?
The overwhelming advantage of doing it yourself is cost-savings. You’ll likely pay a fraction of the cost without the added expense of labor. We won’t lie. It’s hard work, especially if you’ve never done this type of thing. Determine how much your labor figures into the mix.
Setting a Budget
A simple platform deck will run you $1,000 or more. The more elaborate the project, the more it will cost. There are some hidden costs with building one that including:
- Building permit, if necessary
- Equipment rental
- Extra supplies and additions like shrubbery for privacy
- Maintenance
Do you still want to learn how to build a backyard deck? Let’s go!

- Powerful 15-amp motor delivers 5 300-RPM for greater speed and faster cuts
- 7-1 4-inch carbide-tipped blade included. Spindle lock for easy blade changes.
- 51° bevel capacity with a positive stop at 45° for a wide variety of cuts
- Dust blower keeps line-of-cut free of sawdust for improved visibility
- Safety lock/guarded trigger and power-on indicator minimize accidental starts
Last update on 2025-03-28 / Affiliate links / Images from Amazon Product Advertising API
Step 1: Do Your Homework
Before you make plans or buy any supplies, begin with a call to your local city planner office. Find out if you need a permit and what building codes you must follow. You’ll probably find requirements for size, height, railings, and post spacing among other particulars. You may not have to go through any red tape if it has an area of less than 200 square feet or is under 30 inches tall.
Also, contact your homeowners’ association if you are part of one. Many have specific guidelines about property additions, including the type and design of a deck. Don’t risk fees or legal action from not taking this simple step.
Step 2: Plan Your Deck
Site your deck, keeping in mind considerations like privacy and access. We’d suggest having a backup plan too because the next step is to call 811 to arrange to have your underground utility lines flagged. If your first one doesn’t pan out, at least you can still build your deck someplace else.
A platform deck is an easy project that you can complete without any special knowledge. The key is to make sure it’s level and that you measure everything accurately.

- Patented Verti-site Design: The vial can be read from the side in a confined space, double view vial.
- High Accuracy: 0.029°, machined edges for accurate readings, solid block acrylic vials resist breaking, leaking, and fogging.
- Central magnified vials, UV-resistant magnified center vials for high visibility, and color fading resistance.
- 6061 aircraft-grade aluminum, machined top and bottom surfaces, and advanced structural aluminum frame for maximum durability
- Rubberized end caps protect against shock; comfort grips for ease of handling.
Last update on 2025-03-28 / Affiliate links / Images from Amazon Product Advertising API
Step 3: Gather Your Supplies
If you’re using a design, you’ll likely get a supply list for the lumber and hardware that you’ll need. Plan on extras for both. We’d recommend sighting all wood to make sure that they are straight and in decent shape. You’ll have several choices for decking material. They include:
- Pressure-treated wood
- Other wood types like redwood or cedar
- Composite lumber
- Recycled plastic lumber
Each has its pros and cons and can play a role in those hidden costs we mentioned earlier. The first two, for example, require yearly cleaning and restaining. You won’t have to reseal your deck for the last two. However, they are more expensive upfront.
Don’t forget to include a dust mask and safety glasses on your shopping list. Pressure-treated wood contains preservatives that can be harmful if inhaled.
Step 4: Lay Out the Plan for Your Deck
Set the perimeter using string and 2-inch wooden slats. Attach a line level to make sure they are straight. You’ll use it as a guide as you build. Mark the location of your posts or corners with spray paint. The number depends on the size and your local building codes.
Step 5: Prepare the Underground Space
We recommend putting ground cover sheeting over the space under your deck, especially if it’s a platform that isn’t tall. Cut openings for your footings. You can then stake it down and cover it with a layer of pea gravel to hold it in place.
We prefer this method over burying it underground in case you decide to move it later. Digging up plastic sheeting is one of the most loathsome landscaping tasks. Trust us. The gravel will also help with drainage.

- Plastic sheeting for use in many applications
- Your purchase keeps landfills clean, TRM uses recycled materials in the manufacturing process
- Made in the USA
- Great as a drop cloth, cover, barrier, liner, protecting storage items, covering pallets, and many more uses
- Individually wrapped, you can purchase in the case quantity or individually, Great for resale
Last update on 2025-03-28 / Affiliate links / Images from Amazon Product Advertising API
Step 6: Set Your Footings
Though pressure-treated wood can handle ground contact, you should leave at least a 1-inch gap between the ground and the bottom of your deck for air circulation, hence, the need for footings. The depth depends on where the frost line is in your area. It’s the point where the groundwater freezes. In Minnesota, for example, it is 3.5 feet deep, although add another 6 inches to play it safe.
Failure to dig your footings deep enough can cause irreparable damage to the structure when the water expands when it freezes.
You’ll find this task more manageable by using a power auger. You will need someone to help you. You can rent one at your local hardware store or home improvement center. Bear in mind that some areas require that you get them inspected before you proceed.
Alternatively, you can use cement blocks, depending on where you live. Verify that everything is level and that there is adequate ventilation.
Step 7: Prepare and Set the Footings
Pour pea gravel into the holes. Place concrete footer tubes in each hole, marking and cutting them to size so that they are plumb with the ground. Fill the remaining space with quick-set concrete. Place an anchor bolt or metal saddle into each one. Allow the concrete to cure.
Step 8: Cut the Lumber
Using the cutting list from your plan, start preparing the pieces for the rim and support beams. We strongly urge you to follow the carpenter’s advice to measure twice and cut once. It’ll save you money in the long run.
Step 9: Build the Rim of Your Backyard Deck
Arrange the prepared pieces in the shape of your deck and connect them using angle brackets. Measure the diagonal from each side to make sure they are set correctly. Attach them to the posts. Also, double up on the rim with a second piece of wood. Nail the two together with 16d nails to reinforce the structure. Make sure it is level before proceeding.
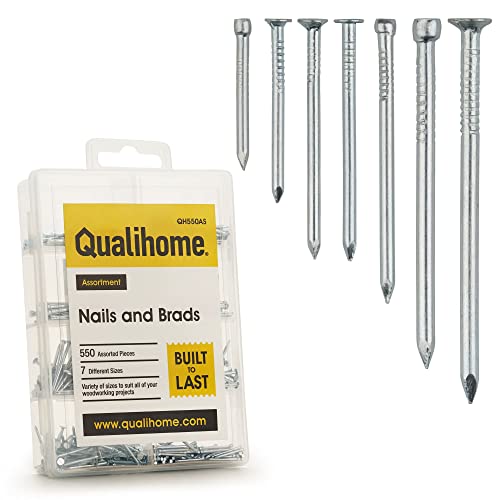
- MULTI-PURPOSE NAILS: Complete all your woodworking projects at home or at work quickly, and efficiently and produce long-lasting results with the quality Qualihome Nails and Brad assortment kit. Give your projects the professional finish they deserve.
- CONVENIENT PACKAGING: The nail set includes a very handy kit that allows you to separate them by size, making your job a lot easier. No time will be wasted looking for nails of the right size, making your projects swifter and more professional.
- VARIETY OF SIZES: The nail set includes nails of many sizes to suit all your woodworking projects and to make your job hassle-free. With Over 500 nails in every kit, you will have all you need in plenty.
- PREMIUM NAILS: These quality nails don’t bend unnecessarily when you hammer them in. They are sturdy, straight, and sharp enough to make all your tasks effortless and produce very satisfying results.
- PERFECT FOR DIY ENTHUSIASTS: For those who love nothing more than to use their hands to create beautiful woodworking crafts, the Qualihome quality brad nails deliver professional finishes that will give your project long-lasting durability.
Last update on 2025-03-28 / Affiliate links / Images from Amazon Product Advertising API
Step 10: Add the Joists and Hangers
These parts are the foundation and one of the most critical when learning how to build a backyard deck. You may find it helpful to start the holes for the screws for the joists with a drill. Put a screw into each joist at an angle. Refer to your deck plan for spacing information. Typically, they are 16 inches apart.
Step 11: Attach the Decking Material to the Frame
Now is when things start to come together fast and that pile of lumber you bought starts to look like a deck. You can go about it in two ways. You can set them with decking screws, or you can use hidden fasteners. The advantage with the latter, other than the aesthetics, is that they are less likely to pop out and snag someone’s foot. Make sure you countersink all of them.
There are a couple of caveats. If you are using pressure-treated wood, the chances are that it’s still wet—and heavy! It will shrink over time so that it will eventually provide the necessary gap between the planks so that water can drain off the floor. It’ll extend the lifespan of the deck.
If you’re using dry wood or another material, you’ll have to leave about a 0.25-inch space between each piece. That distance will ensure adequate ventilation so that the area under your deck will stay dry.
Step 12: Attach the Fascia
The fascia serves two purposes. It looks better than an open space under the deck. It’ll also put a barrier in place to keep pests like raccoons or opossums from taking up residence there. We like the finished look it gives to a deck.
Step 13: Trim the Edges
Use a chalk line to snap the overhang of the decking. Then, use a circular saw to trim the edges. Bear in mind that the ends are no longer protected from rotting if you’re using pressure-treated wood. We’d suggest taking a rasp to them to smooth them out to make the stain and sealer easier to apply.
Step 14: Aftercare for Pressure-Treated or Bare Wood
The final task is to stain the bare wood if you want a different color than the natural look of the bare wood. You can do it once you’ve finished building the deck. If you used pressure-treated lumber, you must wait several months for it to dry. Otherwise, a stain would sluff off and not adhere.
Either way, you must seal the wood. That will prevent deterioration or damage from mold, fungus, or insects. It’ll prolong the life of your deck and help prevent it from splintering. You’ll need to do it every year after that. We suggest waiting a few days after treating it before you start decorating or putting outdoor furniture on it.
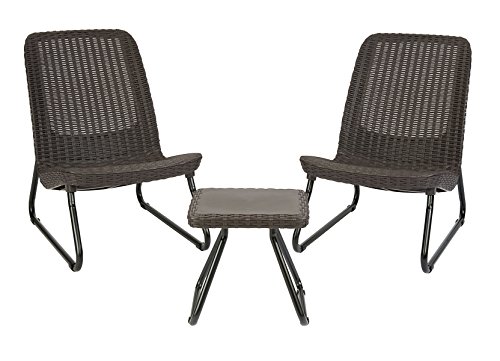
- CHAIRS MEASURE: 30. 5 in. W x 21. 3 in. D x 31. 1 in. H
- TABLE MEASURES: 15 in. W x 15 in. D x 14. 4 in. H
- RESIN CONSTRUCTION: Made out of durable, rust-proof, all-weather polypropylene resin for exceptional durability
- DURABLE: Molded rattan design is more durable and comfortable than woven rattan - will not warp, dent, rust or peel - Unlike real rattan and wicker
- LOUNGE SEATING: Provides comfortable lounge seating with a weight capacity of 299 lbs. per chair
Last update on 2025-03-28 / Affiliate links / Images from Amazon Product Advertising API
Final Thoughts
Even a simple platform deck will enhance your landscaping and increase the property value of your home. It takes some planning and some preliminary work to stay on the right side of the law—and your homeowners’ association. DIYers can complete the project in a weekend.
Learning how to build a backyard deck is easy when you make sure to stick with your plan and measure accurately. While you can job it out, the task is doable even for the novice. You’ll save a lot and get it done on your agenda. Then, all you need to do is add some furniture and hang some outdoor lights to get the most out of your effort.