Not many things beat the rush of taking on a launch in a killer way. Depending on where you live, you might find places to hone your craft few and far between without going on a mission. That’s where learning how to build dirt jumps in your backyard can support your BMX habit. The good news is that it’s easier than you may think.
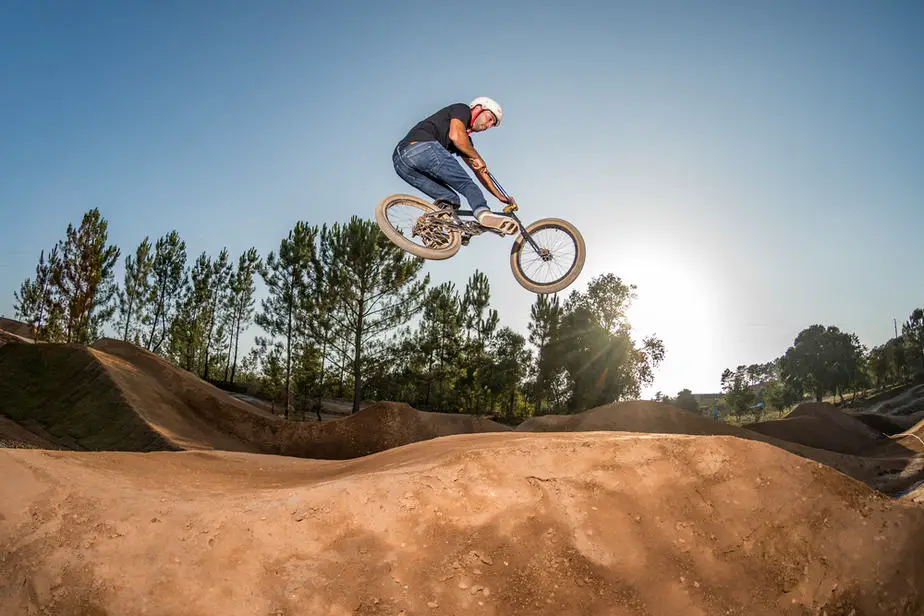
Roughly 1.4 million Americans participate in either BMX or mountain bike riding. We get it. It’s fun to ride fast and yes, reckless. Hanging out in the danger zone is a great place to be, sometimes. While building dirt jumps isn’t hard, it does take some planning and lots of elbow grease. Hauling soil is tough. It will also take some time before it’s ready for prime time.
Ready to get some air? Let’s get to work!
Table of Contents
Step 1: Locate Your Jump Site
Don’t rush through this step and start on the job. Think about how you want to bike through your jumps. Make sure there is enough space to maneuver and build up some speed. Consider what kind of jump you want to build too. A tabletop? Double? Step-up? You can always start small and build up later.
We’d also suggest taking into account the lay of the land so that your site isn’t encroaching on other parts of your yard with different uses. Perhaps the best way to visualize it is to mark the boundaries on the ground with chalk or spray paint. Plan on about 30 feet from start to finish. Don’t forget to give yourself some clearance in case of spills too.
We’ll begin with a simple tabletop dirt jump.
Step 2: Gather Your Tools
Basic garden tools that you probably already have in the shed will get the job done. You will need:
- Shovel
- Rake
- Hoe
- Wheel Barrow
- 1-Foot Logs
- Garden Hose With a Sprayer Attachment
- Watering Can (optional)
- Saw
- Dirt
- Garden Gloves
The logs will provide a foundation for your jumps. They’ll also help cut costs since they will take up some of the space that the dirt—or soil as soil scientists say—will fill. You’re going to need a lot more than you think. You can calculate the amount using a soil calculator. It’s basically a multiplication equation using the dimensions of your jump.
A good height for a beginner is about 2 feet high by at least 5 feet long. Give yourself another 5 or 6 feet between your launch and landing sites. These figures will help you determine how much dirt you need. You may find it cheaper to buy it in bulk. Forget about getting a fancy garden variety. You should get a clean fill, preferably with a lot of clay. Don’t use sand or loam. Neither will provide an adequate foundation.
Step 3: Clear the Site of Your Dirt Jumps
Using your rake and hoe, remove any debris and vegetation from the site. The ideal is to have a solid, flat foundation on which to build the jumps. If you’re wheeling your dirt from another location, you may find it helpful to clear a path for the wheelbarrow too.
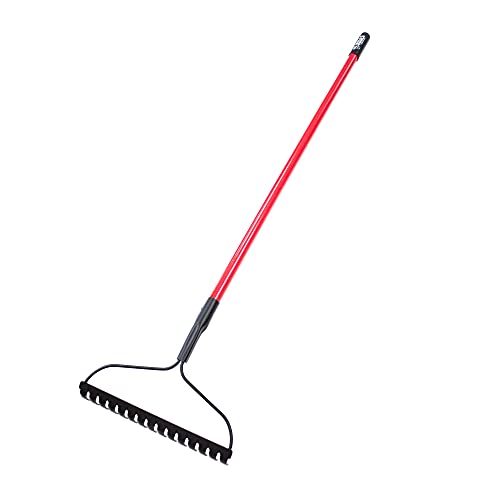
- 100% Made in the USA
- Commercial grade
- Limited lifetime warranty
- Extra thick 10 gauge steel
- 16 tine steel head
Last update on 2025-03-28 / Affiliate links / Images from Amazon Product Advertising API
Step 4: Build Your Foundation
Next, you’ll start on your foundation using the logs. They will help to keep the soil anchored in place and prevent the jumps from sagging. Try to fit them so that they stay together. You’ll only need enough for the center of each one that will stack up to about half its height. For example, a foot or so of logs is adequate for a 2-foot jump. Make sure to lay the wood along the width.
Use the saw to cut any outliers to about the same size as the rest of them. We recommend using green wood that isn’t rotting. The problem with using dead pieces is that they will cave in eventually and cause part of your jump to sink.
Step 5: Start Filling in the Shape of the Jumps
Haul dirt to your site using the wheelbarrow to save your back. Cover the stacked logs and then the area around them to the shape of each jump. Don’t worry too much about how it looks at this point. You just need to get the dirt there to make sure you have enough. It’s the part where we referred to the work being tough when learning how to build dirt jumps in your backyard.
Step 6: Pack the Dirt
Using the back of your shovel pack down the dirt into a rectangular shape. Add more dirt as needed so that you can get it compressed tightly. Don’t skimp on this step. It’s essential for keeping the soil in place. Keep shoveling and packing down until you get to your desired height for the jumps. It’s not rocket science. The approximate height is fine.
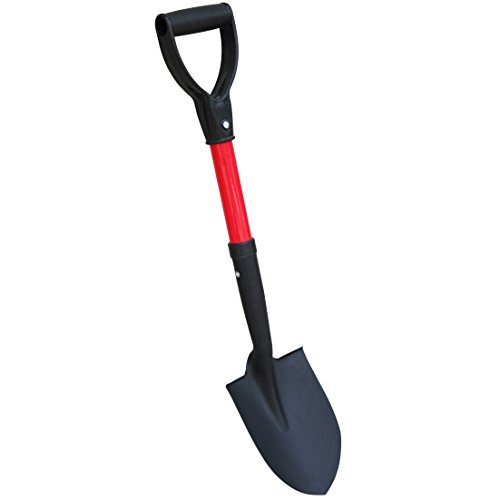
- TABOR TOOLS MINI D-HANDLE SHOVEL Mini D-Handle Shovel is a great tool for digging in tight spaces. The shovel's compact design makes it perfect for camping, working in small areas, garden boxes, light use, and for use by children.
- TEMPERED STEELHEAD: Durable heat-treated head with rust-resistant powder-coated paint. The blade features a forward turned-step for secure foot placement.
- STRONG FIBERGLASS HANDLE & COMFORTABLE D-GRIP: The non-slip D-handle provides comfort and good grip, and gives enough room to accommodate a gloved hand.
- EASY STORAGE: Use this tool in the garden, campsite, or as an emergency trunk shovel – it’s small size will make for easy storage.
- ORDER WITH CONFIDENCE. We at TABOR TOOLS stand behind our products. Please don’t hesitate to contact us for support, questions about our products, or spare parts you might need.
Last update on 2025-03-28 / Affiliate links / Images from Amazon Product Advertising API
Step 7: Form the Slopes
Use your shovel once again to shape the slopes of your launch and landing sites. Keep compacting the soil as you go. You can even stomp on either end with your feet or pat them down with your hands. You’ll find this task easier with dirt that has a high clay content. This soil type contains the smallest particles and will form a solid base. It will also compact easier.
Step 8: Complete Your Launch
The next thing is to concentrate on the shape of your launch and add a lip to help you get airborne. You may find it helpful to use your bike’s tracks as a pattern to get the curve right. All along, you’re still compacting the soil and shaping it.
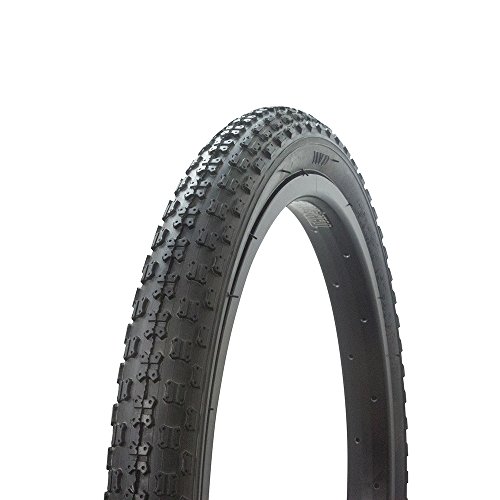
- Wanda Brand Rated @ 40 PSI.
- sold 1 each
- Does not Include Rim or Tube, Only Tire
Last update on 2025-03-28 / Affiliate links / Images from Amazon Product Advertising API
Step 9: Wet it and Give it Some Time
This step will help cement your jumps to make them solid. Gently wet the surface using either a hose with the sprayer attachment or a watering can with a sprinkling nozzle top. The goal is to moisten it and not power wash them. Let the water soak in and repeat the process. If your soil has a lot of clay in it, you’ll notice that it drains slowly. You may have to do it several times to dampen the jumps.
The next step is arguably the hardest one of the bunch, for now, you must wait. Unfortunately, we’re not talking a few hours. We mean days. It’s going to take time for the water and sun to work their magic and for the soil to settle completely. It’s not something you can rush, either. We suggest about four to five days, at the least.
Step 10: Take the Jumps on a Test Drive
Now, all of your hard work and patience will finally pay off, assuming the dirt is sufficiently compacted. Take a look at your dirt jumps, noting the condition of the soil. What is its texture like? Does it look solid and is it keeping its shape? If you notice the edges crumbling, bring out the hose or watering can and repeat the last step again. You can also give it a few more whacks of the shovel, too.
Ideally, the dirt shouldn’t slough off if you walk on them. That must happen first before you take your bike on the dirt jump.
Benefits of Building Your Own Dirt Jumps
Convenience, of course, is a major factor in taking on this project. You can practice whenever you want and not have to worry about others snaking in front of you, either. Just grab your bike and ride! It also gives you control to create something that works for you and your skill level. The great thing about this beginner method is that it’s easy to modify into something more challenging. And it’s right in your backyard!
You could yank out the middle of your tabletop and turn it in a double or step-up if you’re feeling adventurous. You’ll like need more dirt if you’re going to add some height to them. But since you now know how to build dirt jumps in your backyard, that’s not a problem.
The other benefit belongs to the environment. You can lessen the impacts of soil erosion and runoff with a well-made track. Take it a step further by installing barriers near slopes or water sources in your backyard to protect them. You can even cover it before it rains to keep the jumps intact after all your hard work making them. After all, your jumps are bare earth with nothing anchoring the soil in place.
We’d also be remiss not to mention the benefits of exercise. Riding these courses is a major calorie-burn that will work all your muscles for a full-body workout that you’ll love. And there’s no excuse not to exercise if the track is right outside your backdoor.
Final Thoughts
If you have space, you’ll find that learning how to build dirt jumps in your backyard is one DIY project that you’ll likely enjoy. The key lies in planning and waiting for the soil conditions to improve. With the right tools and plenty of muscle, you can turn part of your yard into a wicked track that will provide hours of enjoyment.