All aboard, Choo, Choo! Have you ever thought about building a train for your backyard? Think of all the fun that could be had with a train of your very own! In this article, we’ll be providing you with everything you need to know to build your backyard train for looks and functionality!
Let’s get started!
Table of Contents
8 Steps to Build a Backyard Train
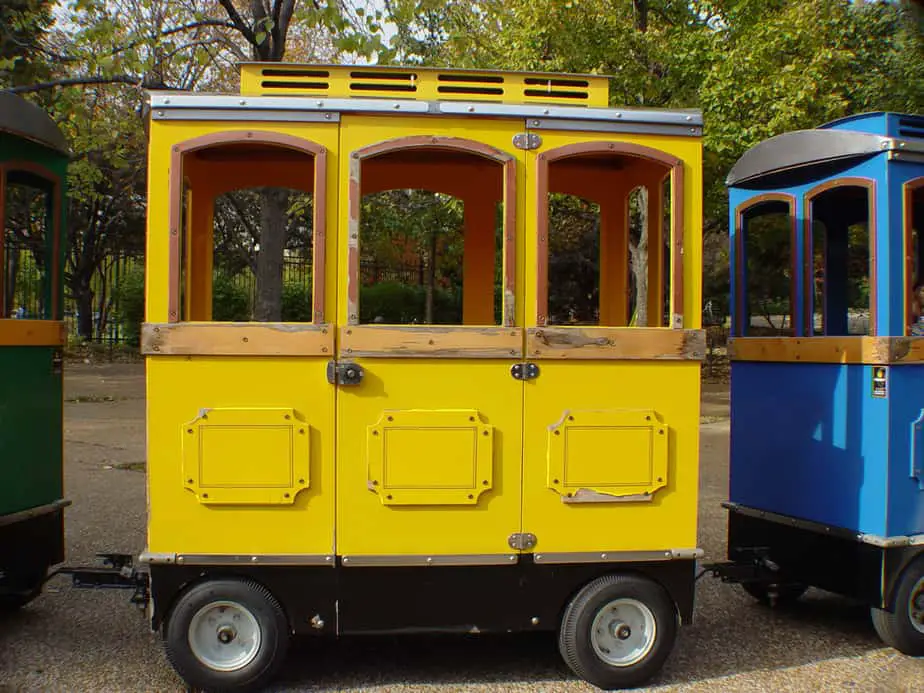
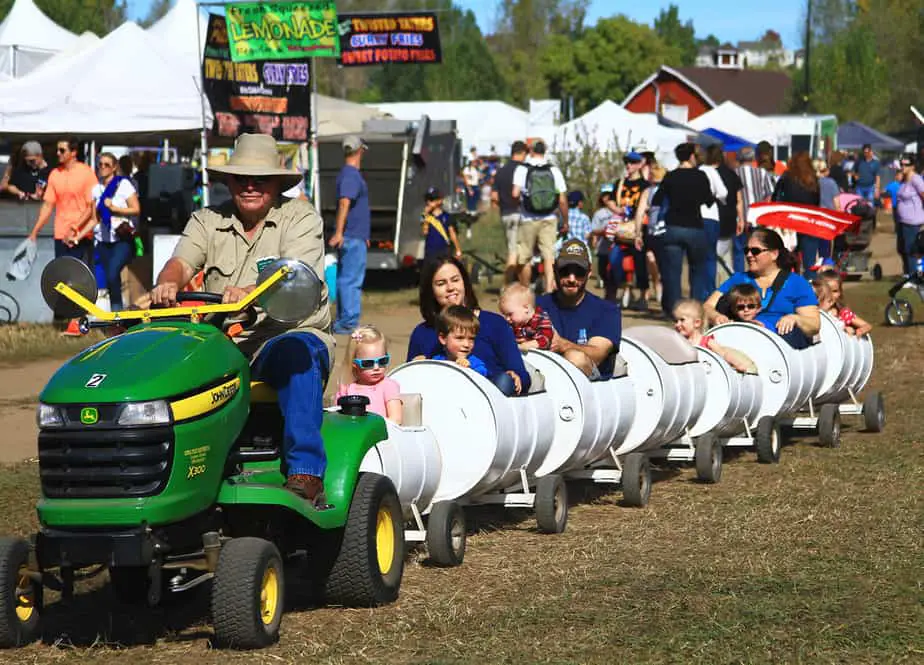
Barrel trains are an easier train to build and are really fun and sturdy if built correctly. They would make a great addition to your backyard fun! You can even buy these backyard trains online. However, if you are more of a do-it-yourself type of person then follow along with our 8 steps.
To conquer one of these fun DIYs you will need some welding skills. If you do not have any, take this time to call someone who does and see if they will assist you. The second way is perfect for someone who cannot weld.
Step One: Gather Your Supplies
First, you will need to gather the materials.
Materials needed for each cart: Welding Way
- 55-gallon plastic barrel
- Square hollow-section steel rods
- Equal-angle steel rods
- Hollow circular steel rods
- Cutting torch
- Welding torch
- Wagon/wheelbarrow wheels
- Circular steel dowel or wheel axle
- Paint (color of your choice)
- Flat steel tongue
- Drill
- Reciprocating or circular saw
- Nuts and bolts
- something to pull the carts with such as ATV, UTV, or Golf Cart
Take this time to decide how many carts you want to make. That will be handy while you follow the next steps. Here is a website with a video on how to build one in case you learn best by watching.
Materials needed for the more simple way:
Tools Needed:
- Hand drill with bits
- Wrenches Or Ratchets for tightening nuts to eye bolts
- Jigsaw (for cutting a hole out of plastic barrels)
- Wood-cutting chop saw (for cutting wooden seat)
Supplies Needed:
- Plastic Barrels (get as many as you want train cars)
- Pool Noodles-To cover the openings.
- (2 in. x 12 in.) wood planks cut at 22 in. long -1 for each cart
- Wood Screws – 2-1/2 inches
- Fender Washers that fit the screws (to mount the seat)
- Dolly- one for each cart
- Eye Bolts
- Nuts– to fit your eye bolts
- Fender Washers– to fit your eye bolts
- Loctite Thread Locker
- Self-Drilling Hex Head Screws-#10 x 3/4 inch
- Fender Washers
- Grade 5 External Hex-Head Cap Screws
- Hair Pin Clip
- Cut Washers
- Something to pull the carts with
Step Two: Paint Your Barrels

If you want to paint your barrels then go ahead and do that in the beginning. The barrels come in either blue or white. Spray paint will do the trick. You might need to do several coats if your barrels are blue. What color are you going to paint your barrels?
Step Three: Barrels
If you decided to paint your barrels then let them dry. Next, you will turn your barrels on the sides and cut your desired openings in the tops of them. Remember to cut them big enough for adults to ride in them too. Adults deserve to have fun too. We really love this idea that this site has about pool noodles covering the cut openings to make that cushion in case someone bumps into it. They also a dolly as the frame instead of creating your own. This would be a great way for someone without a welding experience to complete the project.
- Tip: Drill a hole in the side of your barrel. That will give you a starting point for when you are ready to cut it.
Step Four: Frames
It is time to construct the frames that go under the barrels. This next part is best explained through this website.
“Next, create the simple rectangular frame that your plastic barrel will rest upon. Cut and weld your square hollow-section steel rods to a rectangle approximately 35″x20,” adding a rod extending at a right angle from the center of one of the 20″ sides. (This will become your trailer hitch.) Measurements will vary according to the size of your barrel, but you should end up with a frame that fits around your barrel from end to end when the barrel lies on its side. Keep the frame small enough to allow the barrel to rest on it, but not big enough to pass through it.” -Matt Allex from howtoadult.com
“Using your equal-angle steel rods, cut and weld two “V” shapes and attach them to the frame, on the end opposite the hitch, centering the point of the “V” approximately 10″ from the back of the frame. Now weld your hollow circular rod into the crotch of the “V” shape; this will provide housing for your axle. Finally, drill holes through the bars on the short sides and bottom of your frame and into the barrel, then insert nuts and bolts, securely fastening the barrel to the frame.” -Matt Allex from howtoadult.com
However, if you are using the much more simple method by using a dolly as the frame you will only need to drill a few holes and add eye bolts, washers, and nuts. The wheels are even attached so you could skip step five!
Step Five: Wheels
After you have the frames constructed it is time to add the wheels. Again, this is best explained by following the below instructions from the previously linked website.
“You can now insert your steel dowel or wheel axle through the hollow circular steel rod, and attach your wagon or wheelbarrow wheels. Inflatable tires are preferable to hard plastic wheels for durability, and a smoother ride, if used as transportation.” -Matt Allex from howtoadult.com
Step Six: Seats
This is a great time to construct seats for each cart. Put a nice seat in each barrel. You may want to add some form of seat belt if little ones will be riding it without adults. Go ahead and do that now. The seats could be a board cut to fit inside the barrel. You could even add a cushion on top of the board. Do you want to add two seats to each cart? Be sure your openings are cut open enough for this. If so then two people could sit in one cart and face each other while riding and talking. That sounds fun!
Step Seven: Connect The Carts
Weld a flat steel tongue to the frame and drill holes in them. Drill holes in the hitches of the carts and connect them together. Be sure to use a nice sturdy bolt to connect them with. Remember you will be hauling precious cargo after all!
Step Eight: Enjoy Your New Backyard Train
Conclusion
There are so many different ways to build the perfect backyard barrel train. We hope we help you decide which way by presenting you two different ways throughout the article. One way will really challenge your DIY skills, but the other will give you a nice train without welding and lots of parts.
We hope you have a blast riding your backyard train! Thank you for reading our 8 steps on how to build a backyard train!