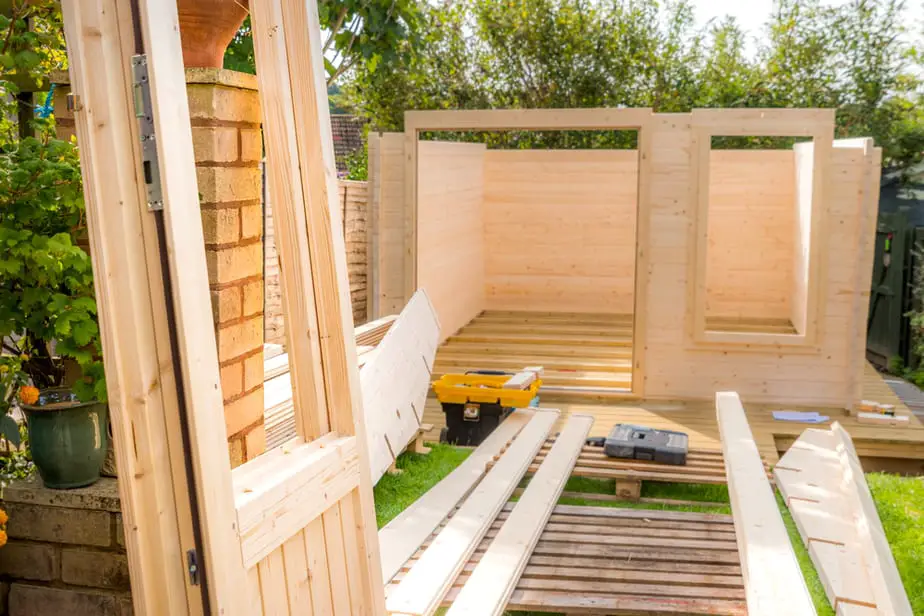
If you do any kind of landscaping, you’ve probably accumulated your share of garden tools. However, bringing them inside every time you’re done with them isn’t practical. In fact, it’s likely messy. The ideal solution is to learn how to build a backyard shed to keep the dirt outside.
It is a doable DIY project that will probably take you two to four days to complete. You will also need a buddy to help you with the heavy lifting. There are several tasks you need to in the planning phase. All are essential to getting the job done right.
Table of Contents
Part 1: Planning Your Project
While we introduced the idea of using it for storage, your backyard shed could serve other purposes too. In this phase of your project, consider what you want out of this outbuilding. Questions to ask include:
- Will you use it just for garden tools and perhaps your lawnmower?
- Do you want space to store bikes and outdoor games like a badminton net?
- Would you like to make part of it a screened-in porch?
- Do you need a workspace?
Think about the amount of space you anticipate that you will need too. Of course, you’ll also have to consider your budget since it will influence other factors when you learn how to build a backyard shed.
Step 1: Take Care of the Legal Questions
You’ll likely need a building permit for an enclosed structure like a shed. You should call your city planning office to find out what you need and if there are any other regs you must follow.
Step 2: Decide on a Site and Call 811
You should build your shed a flat patch of ground. That will mean less prep and better cost savings for you. We’d suggest having an alternative site in mind until you call 811 before you dig. This free service will connect you with the local utility companies to flag your yard for underground lines and wires.
Step 3: Review Your Foundation Options
You have two choices regarding your foundation. The best one is a concrete slab. It will last the longest, but it is also the more expensive of the two. You can plan on it costing anywhere from $500 to $1,000. Also, it’s not a task for the faint of heart either.
The other option is to use a wood platform, preferably resting a tamped gravel base. It’ll provide a more stable foundation than laying treated wood directly on the ground. It’ll run you a fraction of the cost of pouring a concrete slab.
Other things to consider are:
- How compact is your soil?
- Does it drain well?
- What is the size and weight of your shed?
- How extreme are the winters where you live?
- What do you plan on storing in your shed?
The primary concerns are the effects of the seasonal freeze and thaw effects. Materials like concrete blocks are less forgiving than others.
Step 4: Choose Your Design and Get Your Supplies
If you’re handy with building, you can start your shed from scratch, using any of the many free DIY plans on the internet. They will include detailed drawings with a cutting and tool list. The advantage is choice, especially if it’s going to serve more than one purpose.
The other option is to buy a kit at your local home improvement store. It’s easier if you not as comfortable doing the cuts yourself. However, some models are spendy. You also have to adhere to any terms about the construction so that you don’t void the warranty.
Whichever you choose, gather all the supplies and hardware that you’ll need for the shed. Even if you’re putting up a pre-fab one, count the screws, bolts, and washers to make sure everything is there.
Step 5: Gather the Tools You’ll Need
Everyday carpenter tools like a socket-rachet set, mallet, hammer, and wrenches will cover the basics. Depending on your design, you’ll also need power equipment like a cordless drill and circular saw, among others. We suggest renting instead of buying any that you don’t own. Other things you need include:
- Square
- Level
- Chalk line
- Tape measure
- Ladder
- Shovel
- Safety glasses
- Gloves
- NIOSH/MSHA-approved respirator, if using cement siding
We strongly urge you to borrow a lesson from cooking called mise en place. Have everything handy before you start your project.
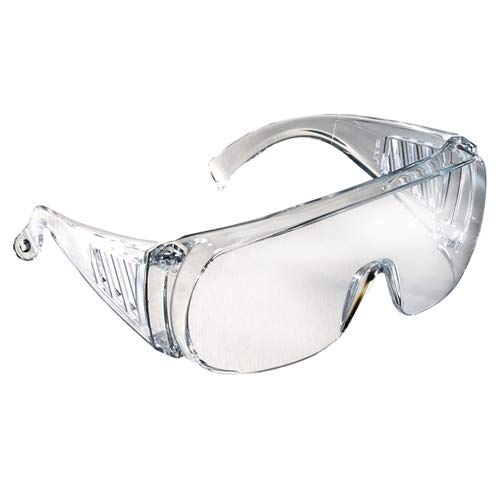
- Safety wrap
- Universal bridge
- Safety glasses
- Country of origin: Taiwan
Last update on 2025-03-04 / Affiliate links / Images from Amazon Product Advertising API
Part 2: How to Build a Backyard Shed
The best advice we can offer is to be precise with your measurements. It’ll mean the difference between doors and windows that fit and ones that don’t. Follow the advice of expert carpenters and measure twice before you cut. Double-check that everything is level as you go.
Step 1: Measure and Prepare Your Site
Use your chalk line and tape measure to lay out the plan for your shed. Clear the area of any debris. Then, dig 4-6 inches down.
Step 2: Lay Your Foundation
If you’re pouring a concrete floor, build a frame of plywood around the perimeter. to contain the material. Compact a layer of sand. Then, cover the space with a plastic sheet and rebar or steel mesh for added strength. Fill it with concrete. You can use a 2 by 4 for the initial pass to level it, following up with a trowel.
If you’re using a wood base, join 4 by 4s along the sides, making sure they are plumb. Fill the space with gravel and compact it. Make sure that the ground is level. We also suggest making it even with the ground so that it’s easier to push a lawnmower or bikes into the shed.
Alternatively, you can also use concrete blocks, paving stones, and other fill, depending on the drainage of your site.
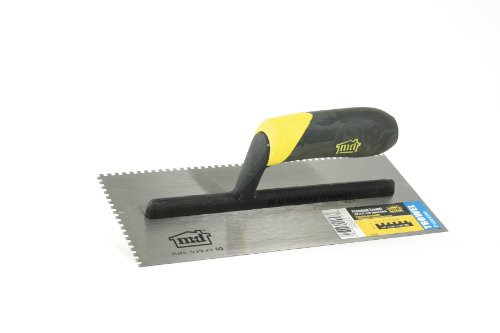
- Stainless Steel blade with Rubber Handle
- Used to spread mortar on floors, walls, and other applications
- Square Notch Pattern 1/8 in. x 1/8 in. x 1/8 in.
- Silver blade with a Black and Yellow handle
- Blade dimensions of 11 in. x 4.5 in.
Last update on 2025-03-04 / Affiliate links / Images from Amazon Product Advertising API
Step 3: Assemble the Walls
You’ll likely find that these next steps are considerably easier than the previous ones. We must mention once again the importance of precise measurements.
If you’re using a kit, take out all the pieces and arrange them in order of the assembly. If it comes with a floor, put it together too, as per the included instructions. Attach them to the platform, using anchor bolts for concrete and lag bolts for wooden bases.
For DIY projects, frame the walls using 2 by 4s, leaving an opening for the door and any windows that your plan may include. Then, place plywood over them, nailing them secure to the frame. Stand the walls and anchor them to the foundation. If using, attach siding to the frames.
Step 4: Construct the Roof
You can use premade trusses or build your own. The latter option is cheaper, but they are more unwieldy to install. You can then add the roof, whether it’s plywood or corrugated panels. You might think about adding an overhang if your plan allows it to protect the walls from the elements. It’ll also add a decorative touch.
Attach waterproof material to the plywood for additional protection. Then, shingle it. Alternatively, you can use pre-cut roof panels, instead.
Step 5: Install the Windows and Door
You can get a prehung door and. However, you’ll save money if you make the windows and entrance yourself. You can order a sash online and build the frame yourself. You can put them together before you start construction while waiting for the city to approve your permit. Bear in mind that you may need additional tools such as a router to make them.
We’d recommend adding at least one window, especially if you don’t plan on running electricity to the shed. It’ll make it easier to find things if it’s dark. Also, prime and paint them before you attach them to the shed.

- Durable 1.25HP motor delivers the power to meet the toughest applications
- Variable speed control feature enables bit speed to be optimized for changing applications
- Soft-starting motor features full-time electronic feedback that maintains motor speed through the cut
- Dual LED's and clear sub-base ensure maximum visibility in operation
- Adjustment ring enables controlled bit depth changes to within 1/64 in
Last update on 2025-03-04 / Affiliate links / Images from Amazon Product Advertising API
Step 6: Add the Exterior Trim and Start Painting
Now, it’s time for the finishing touches. Put your trim and any other decorative elements into place. You must apply a primer on bare wood before you paint. Only use products designated for exterior use. Once complete, you can install any security devices or motion sensors to protect the contents.
Final Thoughts About Building a Shed
Making your shed gives you the satisfaction of doing something yourself with enough physical and mental demands to make it rewarding. Accuracy is the key to ensuring the project will run smoothly from start to finish.
The planning stages are the most critical. They will ensure that your project is safe and legal to save you hassles down the road. Learning how to build a backyard shed isn’t difficult when you take the time to dot the Is and cross the Ts before you start.