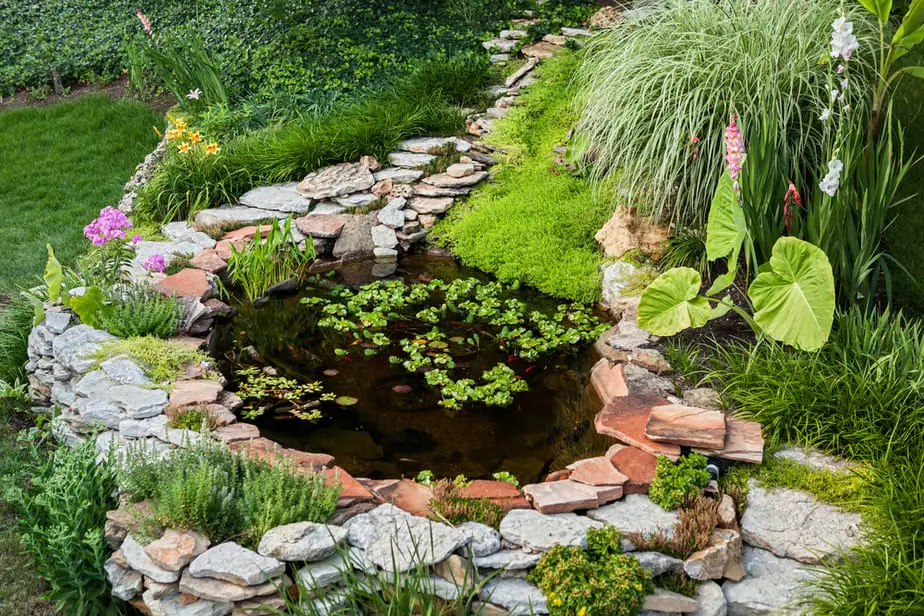
Imagine sitting by a stream, hearing the sound of water splashing over rocks. Every now and then, the sunlight catches the surface. You feel so calm and relaxed just listening to it. You can recreate this serene scene at your home once you learn how to build a backyard pond.
While there is some work involved, it’s not a hard DIY project. You can get one to fit your budget and your landscaping theme. We’ll walk you through the process from the design through turning on the pump. We’ll also provide tips along the way to help you get the most out of your new water feature.
Before you reach for a shovel, there are few housekeeping tasks you’ll need to take care of first. It’ll also involve some planning that will go a long way towards helping you enjoy your backyard pond while making maintenance easier, too.
Ready to get started? Let’s go!
Table of Contents
Preliminary Steps
Your first task is to make a couple of phone calls. It’s essential for planning and picking the location of your pond. Contact your city hall to find out if you need a building permit for this project. Ask if there are any specific regulations regarding this water feature such as:
- Are there size limitations?
- Are there any rules about its placement near your house or property lines?
- Will you need to put in a fence, too?
The next phone call is to 811 to get the utility lines delineated. Some may lie closer to the surface than you think. Cable or phone lines may only go down about a foot, depending on where you live. If you’re planning on putting fish in your pond, you’ll need to dig down 2 feet.
While you’re on the phone, call your HOA, too, to make sure it’s okay with them.
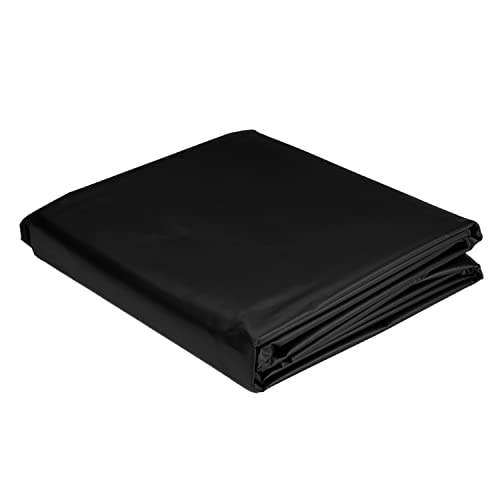
- Make your small pond dream a reality! The TotalPond 7 ft. x 10 ft. PVC Pond Liner is suitable for holding water for a small in-ground or above-ground paver pond up to 200 gallons.
- Easy to install: Flexible, PVC material that is 33% lighter than standard EPDM liner, making it easier to create custom-shaped water features.
- Fosters a natural pond environment: Black liner blends into the pond environment to create a more natural look. UV-resistant PVC material won’t fade. Its textured surface also provides the right foundation for an environmentally balanced habitat.
- Multi-purpose: Pond liners are perfect for any project that requires a non-porous material capable of holding water. This includes ponds, waterfalls, disappearing or hidden water features, drainage systems, water conservancy construction, garden systems, waterproofing planters, and more.
- Made to last: 14.5 mil (0.37 millimeters) puncture-resistant liner is reinforced with a mesh weave for added strength and durability.
Last update on 2025-03-28 / Affiliate links / Images from Amazon Product Advertising API
Step 1: Decide on the Type of Pond You Want
This task is probably the most enjoyable one of all — aside from enjoying your new pond! We suggest giving it some thought since it will help with the other decisions you need to make such as where to put it. Points to consider include:
- Natural, semi-natural, or formal?
- How big of a pond?
- Do you want fish in it?
- What shape do you want it to be?
The sky is literally the limit. However, putting in a pond means lots of digging. It also involves taking into account the money part.
Step 2: Set Your Budget
Of course, the question of budget looms in the background with all these choices. At the very least, you’ll need to buy the following items to complete the project:
- Underlayment material
- Liner or pre-formed shell
- Pump
- Filter
- Heater (optional)
- Sand
- Pebbles
- Decorative rocks
- Aquatic plants (optional)
- Dechlorinator (optional)
You may find it helpful to do price checking for these things before you commit to a certain type. We strongly urge you not to skimp on products like sand or gravel. Get the amount you need and don’t try to stretch out a single bag. We’ll discuss the purpose of each one in detail later on.
Tools that you will need to have:
- Shovel or spade
- Level
- Garden hose
- Wheelbarrow
Step 3: Choose Your Spot
There are several criteria to keep in mind when learning how to build a backyard pond. Its placement should fall in line with your current landscaping. Put it where you can enjoy, preferably close to your house or near your deck or patio where there is well-drained soil.
The ideal location gets morning sun, is within 10 feet or so from your house or a nearby outlet, where there aren’t any trees directly overhead, especially ones like cottonwood or sugar maple (since they will only add to the maintenance you’ll need to do during the year). Your spot should also have a buffer space around it to make cleaning it easier.
Step 4: Get it on Paper
You’ll make the process more efficient if you draw out the plan for your pond before you start to see how it will work with your landscaping. Include where you’ll place your pump and filter. We suggest placing them where they are easily accessible for routine maintenance. Avoid making it a project to get to them.
Also, plan on adding interest to the layout with shelves at different levels in the hole for aquatic plants that prefer shallow water. You’ll find that rounded edges look more natural than straight ones if you’re going after this look.
Step 5: Start Digging
Rome wasn’t built in a day and neither do you have to finish your pond in one day.
You’ll begin in the center of the spot and move outward from there. Add the shelves as indicated in your plan. We’d also suggest sloping one part of the hole to help the unfortunate raccoon or groundhog that may fall into the pond.
Your goal is to create a level surface on the bottom. It will help protect the liner and prevent leaks. Once you’re sure it’s even, inspect the area for tree roots or sharp rocks that could damage the liner.
You should also clear a 6 – 12-inch space of grass around the hole. That serves two functions. It will provide an area to create an edge between the rest of your yard and the pond. It will also keep weeds from getting inside of it. You should also make a small lip around the edge to divert runoff from your yard that could contaminate the water in your pond.
Step 6: Lay Down Some Sand
A layer of sand acts as a buffer between the ground and your pond. It also drains quickly in case of a leak. Plan on a 2-inch layer across the bottom. Smooth it out with a board or your shovel.
Step 7: Put Down the Underlayment
The purpose of the underlayment is to protect the liner. We recommend getting a product made specifically for ponds. However, you can also use old carpeting, too. It’ll provide an extra layer of cushioning.
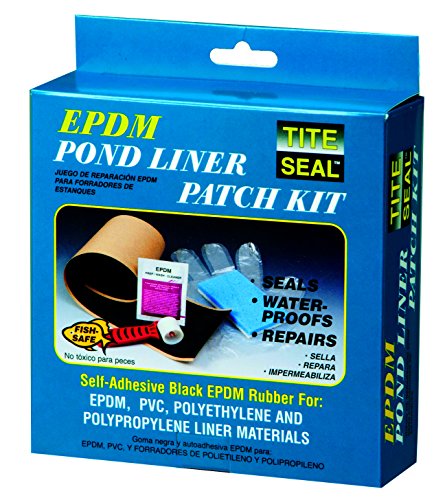
- Kit For Minor Repairs & Tears
- Use On Epdm & Pvc Liner
- Made In The Usa
- Country Of Origin: United States
Last update on 2025-03-28 / Affiliate links / Images from Amazon Product Advertising API
Step 8: Install the Liner
If you opted for a pre-formed shell liner, you’ll need to move the soil to conform to its shape. The layer of sand and the underlayment will help prevent cracks.
A flexible liner gives you more freedom in choosing a shape for your pond. We recommend getting 45 ml EPDM made specifically for ponds. Products for other uses are often chemically treated and are not suitable for aquatic plants or fish. This stuff has a lot going for it. It won’t crack even at extreme temperatures. It’s durable, which is a good thing if you’re decorating the pond with rocks.
This type of liner is a bit unwieldy, making it a job for two people. Extend it over the sides. It’s part of the weed control we mentioned earlier. You can hold it in place with stones placed around the edges and inside of the hole. You can also place pebbles on the bottom if you’re using it. Make sure there are no folds.
Pebbles are a useful addition to a pond. They give a natural look, which we love. They also can trap the inevitable sediment that will accumulate. A bed of pebbles creates an ideal environment for good bacteria to flourish. These microbes break down toxins in the water that could kill fish and plants. Like the sand, we’d suggest at least a 2-inch layer.
Step 9: Add the Pump and Filter
Both of these items are necessary to keep algae under control and to keep the water clean and odor-free. The pump will ensure that it’s circulating and getting oxygenated for your plants. The filter will keep it from clogging. You need to have one of each. However, you’ll need a different type if you’re adding fish to your backyard pond.
Your pump should move the entire volume of your water, a spec called the gallons per hour (GPH) rating. We won’t lie. They are often spendy. But, don’t skimp. An underpowered pump will fry out quickly. You also risk having to drain your pond.
A standard pond filter differs from one used with fish in that it will remove harmful chemicals like ammonia and nitrites from the water. Using a filter along with a layer of pebbles will create a healthy environment for both your fish and plants. Be sure to place both where they are accessible for cleaning and maintenance.
If you’re adding fish, it’s also a good time to add a heater. The depth of your pond will help stabilize the water’s temperature. However, if you live in a northern area, you may find a heater is necessary to avoid drastic swings that could affect the health of your aquatic friends.

- SUBMERSIBLE FILTER: Flat box filter prevents pump from clogging and keeps pond water clear and clean.
- PARTS INCLUDED: Coarse and fine foam pads, tubing and three hose fittings.
- CONVENIENT: Attach to various pump inlets – easy to detach for cleaning.
- WARRANTY: Includes a 1-year limited warranty – see product packaging for details.
- USAGE: Ideal for use with ponds up to 500 gallons.
Last update on 2025-03-28 / Affiliate links / Images from Amazon Product Advertising API
Step 10: Fill Your Pond
Begin filling your pond slowly, keeping an eye on the rocks you used to hold it in place if you’re using a flexible liner. Avoid a gushing stream that will upset the pebble layer and shelves you’ve added.
Step 11: Add the Plants and Decorate the Edges
Now, it’s time to get creative. Plants will make the pond. There are several options that will provide color and interest. Some species to consider include:
- Water hyacinth
- Iris
- Horsetail
- Sweet flag
We’d suggest avoiding plants like cattails or reed canary grass, which are aggressive and invasive. You may find that they will take over the entire pond in no time. A mixture of submerged, floating, and emergent varieties will provide a pleasing display. Then, move onto the borders of your pond. You can also add plants around the sides to cover the liner.
Step 12: Add the Fish (Optional)
You should wait at least four to six weeks before adding fish to your pond. That will give your aquatic plants time to get established so that they can provide cover and perhaps food for them. You will also need to add a de-chlorinator to the water before adding them. Follow the instructions on the label for the amount that you’ll need. Whenever you refill the pond, you’ll need to add more.
Keep the fish in the plastic bags. Do not release them immediately. Instead, allow the bag to float on the surface of the water for about 30 minutes so that the temperatures are equal. Then, let them into the pond. This step reduces the risk of shocking them because of the difference in temperature. Plan on about one adult goldfish for every 100 gallons.
Step 13: Maintenance and Tips
You should clean the pond of floating debris using a net. Decaying plants can alter the water chemistry, which could hurt your fish. It’s also unsightly. You may find it useful to use an algaecide periodically to avoid blooms that could also impact water quality. Check to make sure that your filter and pump are functioning properly, especially if you have hard water.

- Contains one (1) API POND ALGAEFIX Algae Control 1-Gallon Bottle; treats up to 38,400 U.S Gallons
- Helps resolve algae problems and controls the formation of new algae; works fast; effectively controls most types of algae including green water (Chlorella), string and hair algae (Cladophora), blanket weed algae (Oedogonium) in ponds, koi ponds and fountains
- This EPA-registered pond algaecide will not harm fish, plants, surrounding wildlife and pets when used as directed
- Does not contain copper
- Before use, make certain that the pond/fountain has vigorous aeration; thoroughly mix into pond/fountain water and disperse evenly; Repeat dose every three days until algae is controlled; dose weekly to keep pond or fountain clean and clear and to reduce maintenance
Last update on 2025-03-28 / Affiliate links / Images from Amazon Product Advertising API
Final Thoughts
Adding a water feature to your landscaping is an excellent way to add beauty and interest to your yard. Learning how to build a backyard pond will give you plenty of ideas. Once the hard part is behind you, maintaining it is easy. Sit back, relax, and enjoy the sound of the water. You deserve it.