If you want to know how to build a rain garden, we’ve put together this simple step-by-step guide to help you get the job done!
The typical purpose of home gardens is to add to the aesthetic appeal of your landscape, but what if I told you that rain gardens also improve drainage and offer some environmental benefits? Despite what most homeowners think, setting up these gardens isn’t as complicated as it may seem at first glance, and the payoff is tremendous!
Not only will you be enriching your yard with colorful plants, but you’d also be doing your eco-friendly part by making use of excess rainwater and gutter runoff.
Table of Contents
What is a Rain Garden? How is it Beneficial?
A rain garden is a unique type of garden that houses deep-rooted plant species. Its design allows for the collection of excess water, whether it’s roof runoff, driveway runoff, yard runoff, or runoff from other watertight surfaces.
You can think of a rain garden as a plant pond where rainwater gathers in a shallow hole in your yard — hence, the name. The included plants are usually native wildflowers and grasses that are selected for their remarkable ability to let water drain quickly into the soil.
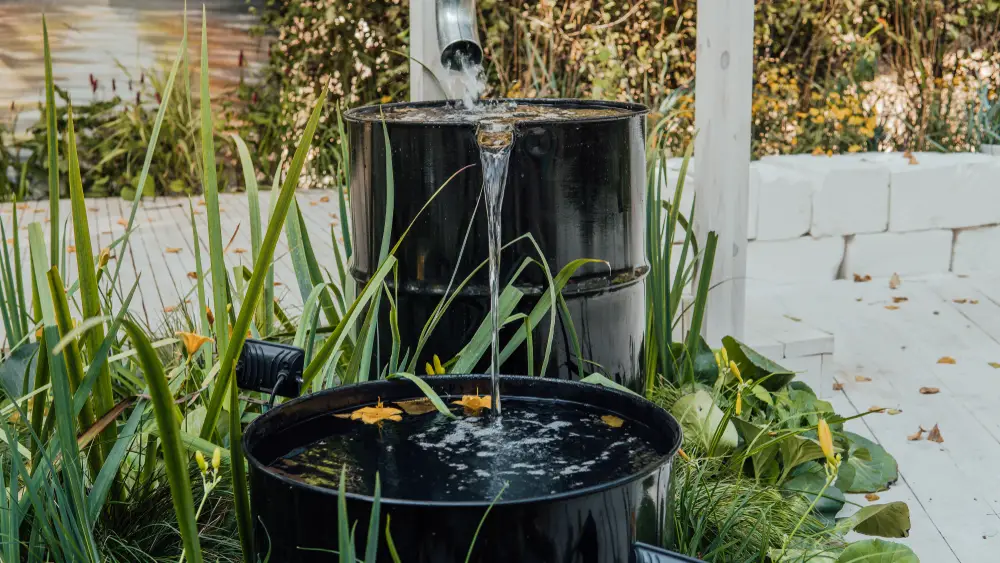
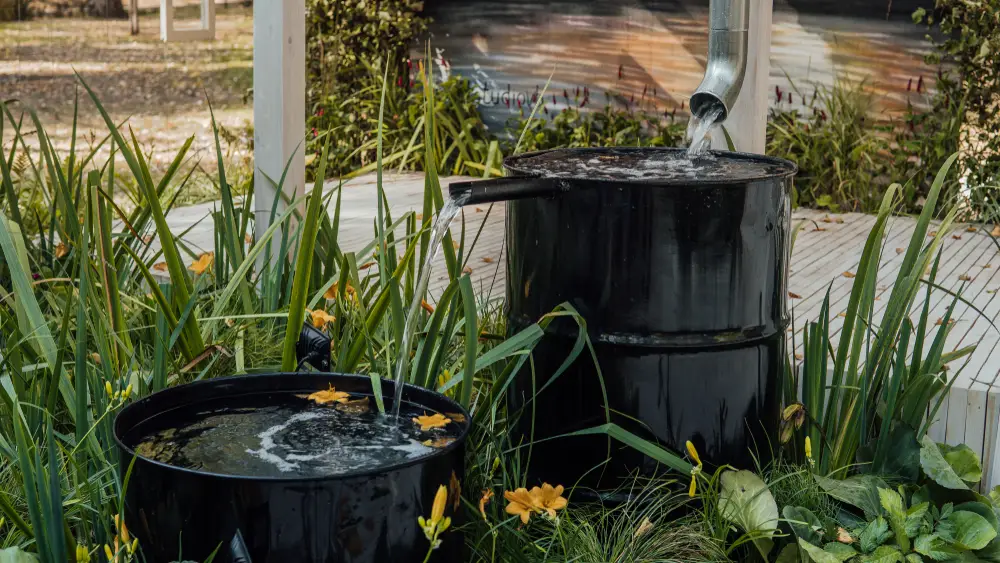
So instead of rushing down a local waterway or a storm sewer, the rainwater is still directed away from your house but put into creating something beautiful and useful. The channeling of excess water from the downspout to the garden bed is done via a plastic pipe or a swale, which is made using stone.
From there, the garden – given that it’s designed correctly – will rapidly drain the collected water into the soil over the span of a day or less. This period is way shorter than the time mosquitoes need to breed, so you don’t have to worry about those annoying insects.
In case of a particularly heavy downpour, you may notice the excess rainwater overflowing the garden bed and rushing down the storm sewers. Even this counts as a success for the rain garden because it’ll have caused the rainwater to move away from your house and taken some of the load off the sewer system.
Additionally, rain gardens can help cut down on the amount of waste and chemicals that get dumped into local rivers and lakes along with storm runoff. In fact, some places have such serious runoff issues that houses with rain gardens built are eligible for tax breaks.
Besides having a positive impact on the environment, rain gardens also serve as a shelter and food source for some wildlife, which further nourishes your yard. Finally, rain gardens are relatively simple to install, require minimal maintenance, and stay looking good throughout the whole year!
How to Build a Rain Garden
Before we discuss the steps of building a rain garden in detail, let’s take a look at the tools and materials you need to gather first.
Tools and Materials
- A level
- A spade
- A wheelbarrow
- A PVC pipe
- River rock, 1.5 inches
- Optional: decorative boulders and rocks
- Some landscaping fabric
- Some native plants (flowers and grasses)
Procedure
Building a rain garden involves choosing a low place in your yard to make a berm, then installing swales to direct excess water away from your house and the higher spots of your yard. From there, you’ll select an assortment of native, deep-rooted plants and grasses adapted to your region and various depths of water to promote quick absorption of the water into the soil.
That was a very brief summary of how to build a rain garden, now let’s dive deeper into each step:
1. Finding a Proper Location and Slope
The success or failure of a rain garden heavily depends on you choosing a proper location in your yard with an appropriate slope.
Follow the tips below to make sure you ace this task:
- Use a level and a board (straight, long) to measure the slope of the yard. To ensure adequate flow of water into the rain garden, you should have a slope of at least 1 inch in 4.5 feet (2%).
If your yard doesn’t naturally meet the minimum slope requirement, the drainage won’t be effective. So, you’ll have to artificially create the slope with some landscaping.
- Choose a location in your yard where the rain garden will receive runoff from driveways, downspouts, or high points.
- To direct water into the rain garden from a downspout, you can choose either running a 4-inch plastic PVC pipe or laying river rock 1.5 inches in width. If your rain garden is farther than 30 feet from the nearest downspout, then a PVC pipe will offer a more efficient flow.
- The location of your rain garden should be more than 10 feet away from your house. This way, you avoid the unfortunate scenario of water saturating the soil next to the foundation, or worse, water backing up against it.
If there’s water pooling close to the house, use a PVC pipe to direct it into the rain garden. You may need to tunnel underneath an obstruction such as a walkway to achieve proper channeling.
- Be sure not to choose a spot on top of underground structures such as utility lines or a septic tank (at least 25 feet away). It’s important to have the utility structures under your property marked before you start digging to avoid any legal liability if you hit them by accident. Contact your local utility office to get any lines mapped out.
- Don’t forget to set up an overflow area, which is a bit lower region on one side of the garden with stones to direct excess water away from the garden once it gets filled. The overflow area should be far enough from you and your neighbors’ homes.
- The location of your rain garden should receive full or partial sunlight (half-day of sunlight at minimum).
2. Determine the Right Depth and Size
Once you decide on a location for your rain garden, you should figure out the proper depth and size it has to be. To do this, you need to determine the speed at which the soil drains the water.
The average rainfall is expected to fill almost the whole garden, but get absorbed by the soil within 24 hours.
To easily calculate how quick drainage occurs, simply dig a small hole in the area designated for the rain garden, add water to fill it, then observe the time it takes to completely drain away. The goal here is to determine the maximum amount of water that the soil can absorb.
The porosity of the soil has a significant effect on the proper depth. For example, sandy soil drains water better than clay, so a garden dug in the former soil can be deeper than the latter. Here’s how you can test your soil:
- Dig a hole of dimensions 8 x 8 x 8 inches in the rain garden designated area and add water to fill it.
- After one hour has passed, check to see how much the level of water has dropped, then determine how long it’d take for 1 inch of water to drain away. For example, if the water level drops by a 1/4 inch in one hour, you can conclude that it’d take 4 hours for 1 inch of water to sink into the soil.
Going off this rate, a 24-hour period will be long enough for the soil to take in 6 inches of water. So, this rain garden should ideally be 6 inches deep.
With the proper depth determined, it’s time to figure out the garden size. Start by estimating the amount of water that would run off the roof and through the downspout that feeds the garden during a 1-inch rainfall (an average storm rainfall).
Here’s how:
- Calculate the approximate area of the roof that dumps water into a downspout. For example, in a 2,000-square-foot rectangular house with four downspouts (one at every corner), you’d have an approximate area of 500 square feet of runoff per downspout.
- Multiply this area by 1/12 foot (1-inch rainfall depth) to calculate the water volume. In this case, approximately 41.5 cubic feet.
- Divide the volume by the depth to arrive at the proper size. So, building on a soil porosity that can accommodate a 6-inch (1/2 a foot) deep garden, you’ll divide 41.5 by 1/2 and get an 83-square-foot garden size.
3. Select and Add Plants
- NATURALIZES: These large and robust Bearded Iris rhizomes will spread over time to create a sensational display.
- FRAGRANT FLOWERS: Beyond being absolutely gorgeous and growing up to 48 tall, these bloomers are also fragrant!
- ECONOMICAL: Get a bigger bang for your buck with flowers in both the fall and the spring.
- COLD-HARDY: Bearded Irises perform as perennials in a wide range of climates from 3 to 51
- AUTHENTIC: A thoughtful product of Easy to Grow, an American company.
Last update on 2025-03-28 / Affiliate links / Images from Amazon Product Advertising API
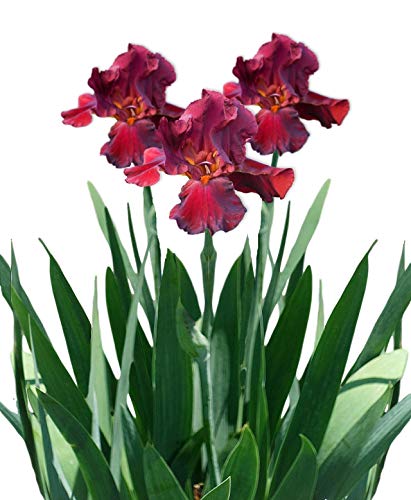
Time for the more fun portion of this project — choosing plants and adding them to your rain garden. Growing zones are indeed different across the country, but some plants are considered standard picks for this garden type. These include artemisia, aster, coneflower, daylily, iris, sedge, and sedum.
You can contact your local garden experts or university extension and ask about other suitable options for your region.
As a rule of thumb, you should place plants that are labeled “average to moist” for water requirements in the deepest section of the garden bed. Plants labeled “average to dry” should go on the higher ends of your rain garden.
You may think that moisture-loving plants are the best choice for a rain garden, but they’re actually not. The way this type of garden is designed causes it to drain water within 24 hours, which will leave behind dry conditions for plants that need constant water access.
As such, you need to be careful when it comes to the moisture requirements of plants. While any species with the right requirements will make a fine addition to your rain garden, we highly recommend native plant species.
Whether they’re wildflowers, grasses, or shrubs, native plants possess deeper root systems, can endure unfavorable growing conditions, and demand less care. Also, the majority of native plants develop new roots annually. This means improved aeration and more pathways for water.
Transporting plants from their original containers and into your rain garden is a delicate process that involves the following steps:
- Gently tip the container upside down.
- Shake the container so that the plant falls with the root facing up. If the roots are tangled, carefully untangle and spread them.
- Place the plants about 1 foot away from one another.
- The depth of the plants in the soil should match their depth in the container they came in.
- Once you have the plants in place, add a 2 to 3-inch layer of mulch to cover the garden. This helps enhance drainage of runoff and prevent weeds from growing.
4. Provide Enough Care

- ALL-NATURAL INGREDIENTS: No added fertilizers or pesticides
- USES: Potted plant decor, landscaping, terrariums, or soil supplement, soil barrier, bonsai care
- BENEFITS: Drainage, enhances appearance, water retention, blocks pesky creatures
- INGREDIENTS: 100% pine bark mulch, average size 1/2-inch pieces
- Size: 4 Quarts (1 gallon / 3.8 liters)
Last update on 2025-03-28 / Affiliate links / Images from Amazon Product Advertising API
The first year is when you need to provide the most care for your rain garden. Here are some tips to help your garden thrive:
- For the first two weeks, water new plants every other day then every few days for the first year.
- After they’ve established their roots, watering will be needed during long droughts only. Watering with approximately 1 inch per week during such periods should be fine. Your goal is to keep the upper 6 to 20 inches of soil moist.
- Remove weeds regularly and check for any built-up debris in the entry passage, the garden bed, and the overflow area.
- Mulch using shredded hardwood, wood chips, or pine bark. Feel free to add more mulch whenever any part of the soil gets exposed.
- If you’re dealing with especially large runoff, consider digging a notch on the lower side of the berm to channel out around half the water since young plants don’t do too well with hefty water volumes.
- Consider placing big decorative rocks at the entry side of the garden to avoid the washing out of newer plants if you get heavy rain.
- Schedule your watering session early in the morning or during the evenings. Avoid watering when the sun is at its hottest to help the soil retain as much water as possible.
Final Thoughts
There you have it, a step-by-step guide on how to build a rain garden. The process is fairly simple; first, you’ll choose a low place in your yard to make a berm, then install swales to direct excess water away from your house and the higher spots of your yard.
Be sure to test the porosity of the soil in your yard to determine what depth will provide the most efficient drainage for your rain garden.
From there, you’ll select an assortment of native, deep-rooted plants and grasses adapted to your region and various depths of water to promote quick absorption of the water into the soil.